I wanted to try out Ubuntu Remix 9.04 on VirtualBox, so I went to the official Ubuntu site and downloaded the file. When I first downloaded the file, I didn’t notice the download for Ubuntu Remix is an image file not an ISO file. This makes sense, since most netbooks do not have an optical drive. The IMG file is intended for installing using a USB drive. You are supposed to flash your USB drive using the IMG file.
This is a problem under VirtualBox, because VB cannot mount an IMG file like an ISO file. Fortunately, you can convert the IMG file to VirtualBox’s disk format VDI according to this post. The utility is called VBoxManage.exe which is part of your VirtualBox installation. Open up a command prompt, change directory to VirtualBox and type the command to convert the image.
cd "\Program Files\Sun\VirtualBox"
VBoxManage.exe convertfromraw -format VDI f:\Images\ubuntu-9.04-netbook-remix-i386.img f:\Images\ubuntu-9.04-netbook-remix-i386.vdi
Substitute the file name with the one on your system. If you use Vista or Windows 7, you need to use an elevated command prompt to enter the command. After the conversion is done, you can click on File -> Virtual Media Manager in VirtualBox to mount the converted vdi file.

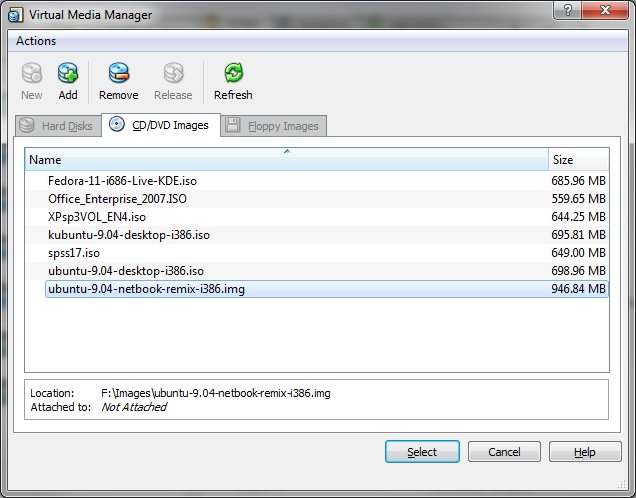
Note that it’s mounted as a Hard Disk, not a CD/DVD Image. To install from this hard disk, I mounted this disk as IDE Primary Slave.

To start the actual installation, I have to press F12 when the virtual machine boots up and select 2) Primary Slave.
This post may contain affiliated links. When you click on the link and purchase a product, we receive a small commision to keep us running. Thanks.
It’s not work in WinXP 64bit.
Grax… muy util la info.