
I created a lot of step by step instructions when I learned SCCM 2012. I am going to share the instructions in a series of posts. The first one is how to create a bootable USB key for imaging. Note that there are tons of options for each process, change the options to fit your need.
- Insert a USB key to the computer.
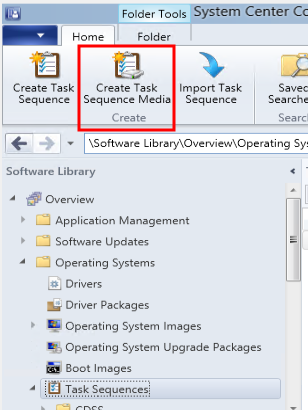
- Open System Center Configuration Manager. Go to \Software Library\Overview\Operating Systems\Task Sequences .
- Click on Create Task Sequence Media. If you do not see the option, it might be hidden in Create button.
- Click on the type of media you want to create. In this example, I want to create a boot USB, so click on Bootable media. Click on Next to continue. If you want to create a Stand-alone media without Internet access, you can pick Stand-alone media.

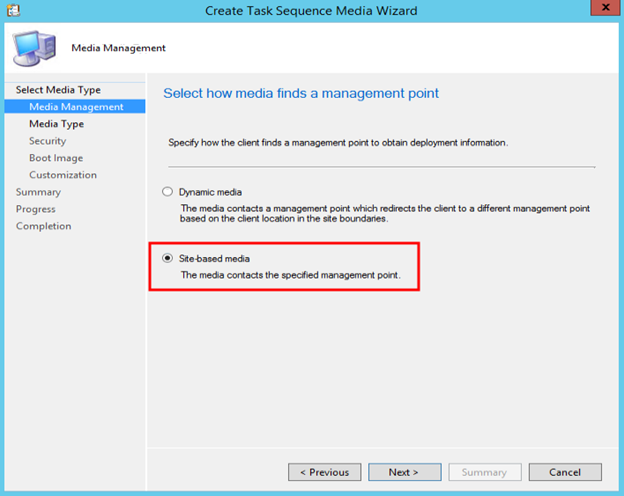
- Select the type you prefer and click on Next.
- Click on Removable USB drive and select the drive. Click on Next to continue.

- Click on Yes to continue.

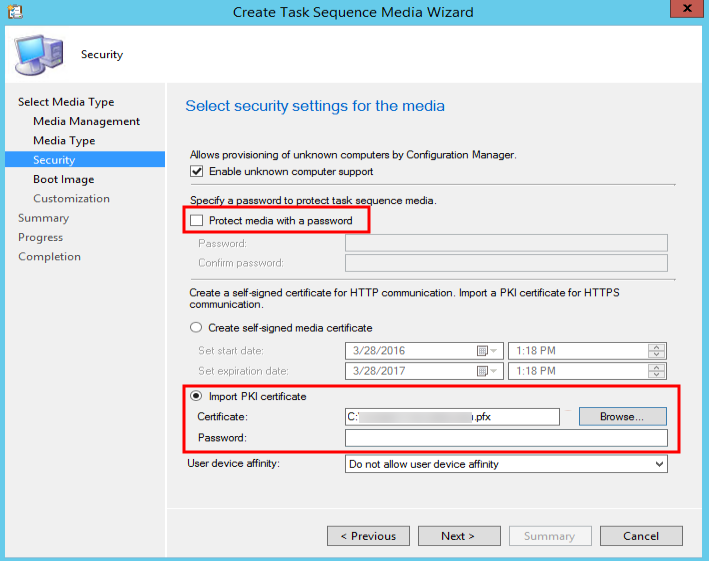
- Uncheck Protect media with a password. Click on Import PKI certificate. Click on Browse to select the certificate file.
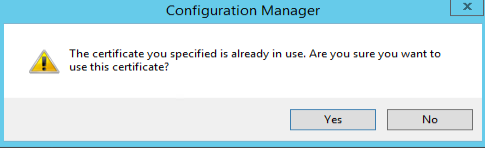
 Click on Yes to continue.
- Select the boot image, distribution point and management point. Click on Next to continue.

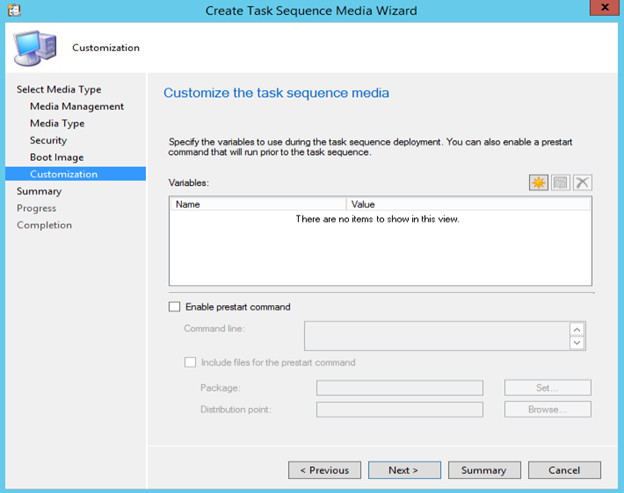
- Click on Next to continue.
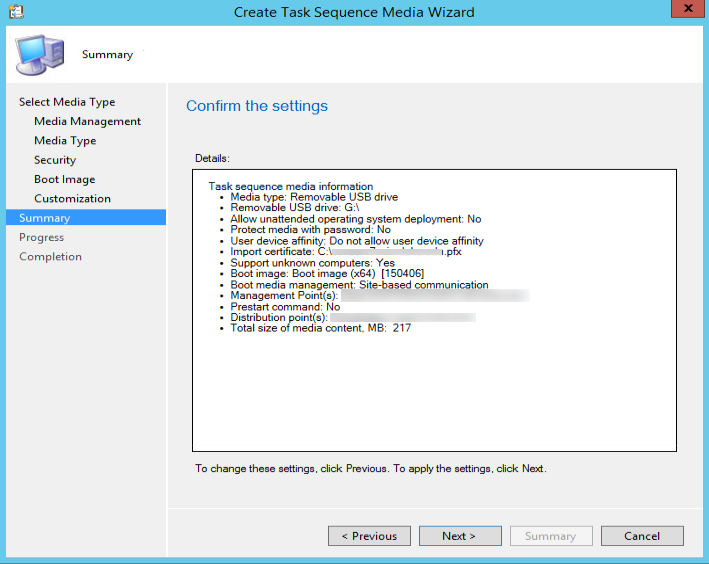
- Click on Next to continue.
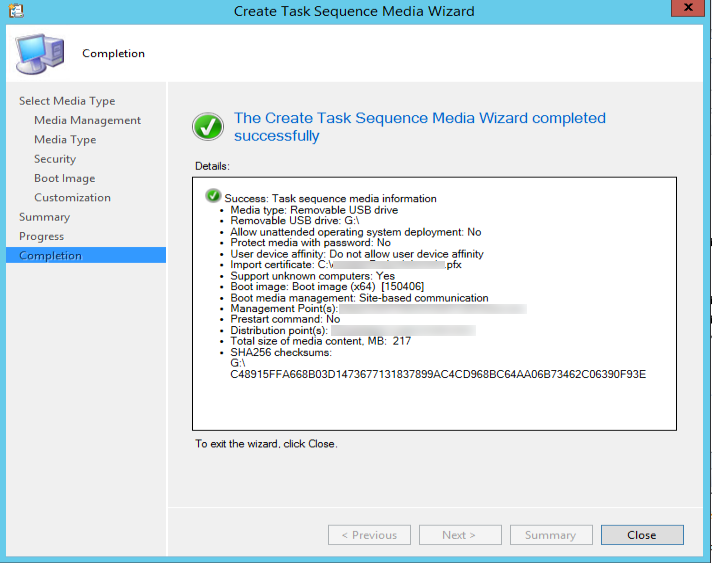
- Click on Close to finish.
This post may contain affiliated links. When you click on the link and purchase a product, we receive a small commision to keep us running. Thanks.
Leave a Reply