
Note that the following instructions are tested on Windows 10 Version 1809. If you have an earlier version, please upgrade it first.
Enable Windows Subsystem for Linux
- Right click on the Windows logo and select Windows PowerShell(Admin)
- Enter the command in the Windows PowerShell Window
Enable-WindowsOptionalFeature -Online -FeatureName Microsoft-Windows-Subsystem-Linux
- Reboot your computer
Download Ubuntu 18.04
- Open Windows PowerShell as Admin again and enter the command to download Ubuntu 18.04 and save it as Ubuntu1804.appx
Invoke-WebRequest -Uri https://aka.ms/wsl-ubuntu-1804 -OutFile Ubuntu1804.appx -UseBasicParsing
If you want to download other distributions, here are the list:
- Ubuntu 18.04 ARM
https://aka.ms/wsl-ubuntu-1804-arm - Ubuntu 16.04
https://aka.ms/wsl-ubuntu-1604 - Debian GNU/Linux
https://aka.ms/wsl-debian-gnulinux - Kali Linux
https://aka.ms/wsl-kali-linux-new - Open SUSE Leap 42
https://aka.ms/wsl-opensuse-42 - SUSE Linux Enterprise Server 12
https://aka.ms/wsl-sles-12 - Fedora Remix for WSL
https://github.com/WhitewaterFoundry/WSLFedoraRemix/releases/
Install Ubuntu 18.04
- Enter the following in the PowerShell (Admin) window to install Ubuntu 18.04
Add-AppxPackage .\Ubuntu1804.appx
Initialize Ubuntu
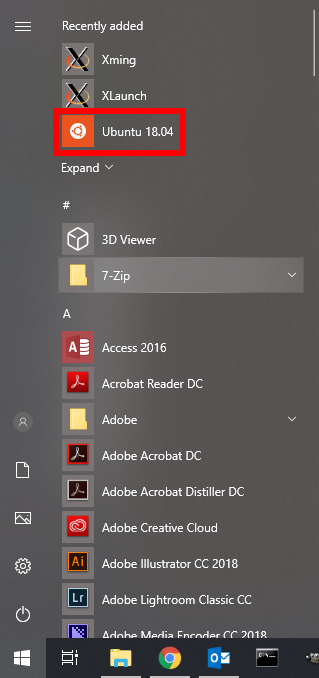
- Click on the Windows logo and then Ubuntu 18.04. Follow the instructions to set up a user and initialize setup
Notes:
- If you want to use and X-win applications, you will need to install Xming X server for Windows.
https://sourceforge.net/projects/xming/ - Enter the following command in the Ubuntu window to set up the X-win display if you are using bash
echo "export DISPLAY=localhost:0.0" >> ~/.bashrc
- The Linux directory is located at
C:\Users\username\AppData\Local\Packages\CanonicalGroupLimited.Ubuntu18.04onWindows_79rhkp1fndgsc\LocalState\rootfs - To access the Windows file system from within Ubuntu, you can access them using /mnt/c for C drive or /mnt/d for D drive
This post may contain affiliated links. When you click on the link and purchase a product, we receive a small commision to keep us running. Thanks.
Leave a Reply