I have two PS2 EyeToy cameras that have not been used for a long time. When I tried out some camera security software, I needed an external web cam. Instead of shelling out money to buy a PC web cam, I thought it would be nice to use the EyeToy as a PC web cam. After searching a while for a driver, I was able to find one for Windows 7.
With the driver, the EyeToy has transformed to a nice PC web cam. The only problem is that the low light performance is unimpressive. I have read something about how you can turn a PC web cam to an infrared camera to improve low light performance. The idea is to remove the infrared filter and replace it with a visible light filter. Therefore, the camera uses infrared light instead of visible light as a light source. Here is what I did to convert the PS2 EyeToy to an infrared camera.
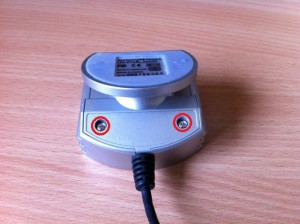
- Turn the camera upside down. Peel off the sticker to reveal two screws.

- Use a small screw driver to unscrew the two screws. Remove the bottom part gently.

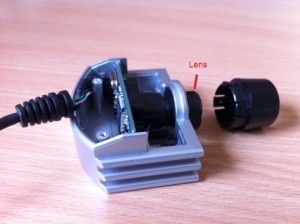
- The front of the camera is secured by some tabs. Use your fingernails to push the tabs radially and pull the black cylinder part out of the camera.

- Turn the lens to remove it from the camera.

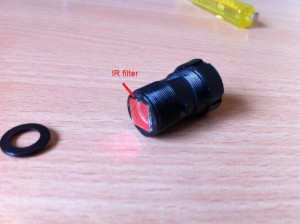
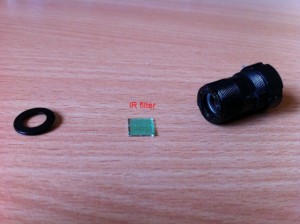
- The infrared filter is glued on by a plastic ring. Use a sharp knife to separate the plastic ring and remove the infrared filter.


- I used some unexposed and developed film as my visible light filter. Cut the film to the size of the IR filter and put it back in the place where the IR filter was. Assemble the camera in reverse order and you are done.
I’ll post some images from the camera later.
This post may contain affiliated links. When you click on the link and purchase a product, we receive a small commision to keep us running. Thanks.

Leave a Reply