
Upscaling AI-generated images and videos is an essential step for creators who want clean details and higher resolution output. FlashVSR is a new high-performance upscaler designed for both still images and video. When you use it inside ComfyUI, you get sharper textures, smoother motion, and fewer artifacts compared to older upscalers like Real-ESRGAN or basic ESRGAN variants.
If you’re thinking about purchasing a new GPU, we’d greatly appreciate it if you used our Amazon Associate links. The price you pay will be exactly the same, but Amazon provides us with a small commission for each purchase. It’s a simple way to support our site and helps us keep creating useful content for you. Recommended GPUs: RTX 5090, RTX 5080, and RTX 5070. #ad
This article shows how to use FlashVSR in ComfyUI for upscaling images and videos. You’ll see which nodes to add, how to structure the workflow, and the recommended settings for getting consistent high-quality results. It’s a simple upgrade that works especially well with models such as Flux, Qwen-Image, and Z-Image-Turbo pipelines.
FlashVSR Models
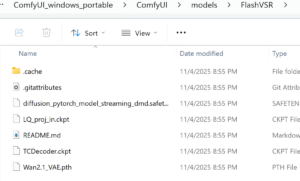
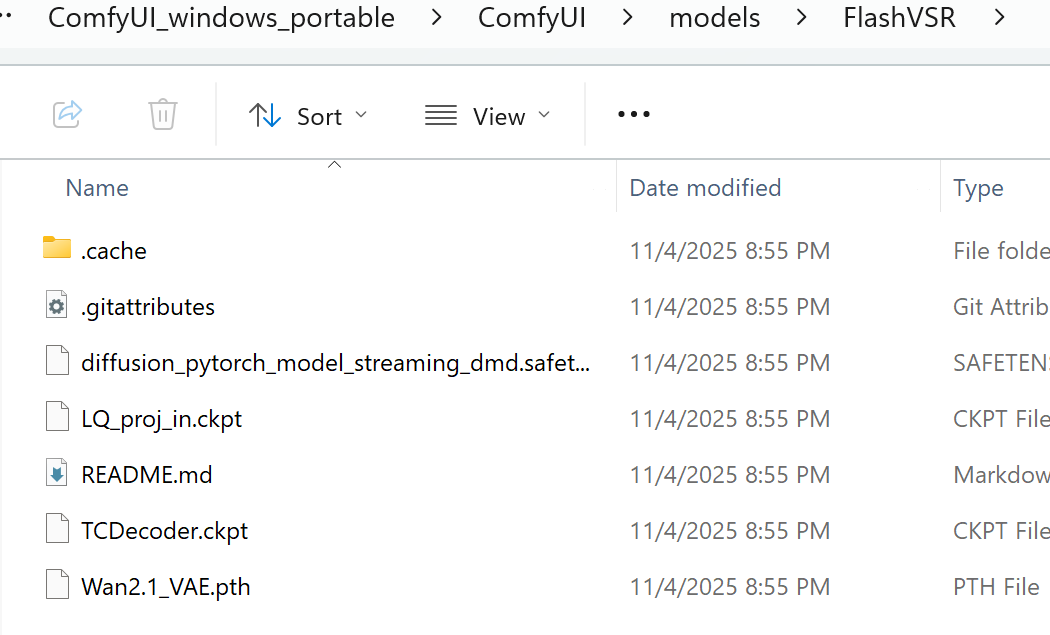
- The FlashVSR models are available here. Download all the files and put them under ComfyUI\Models\FlashVSR directory.
FlashVSR Installation
- Update your ComfyUI to the latest version if you haven’t already. (Run update\update_comfyui.bat for Windows).
- Download the json file and open it using ComfyUI.
- Use ComfyUI Manager to install missing nodes.
- If you don’t have Sage Attention, please see this post to install it.
- Restart ComfyUI.
Nodes
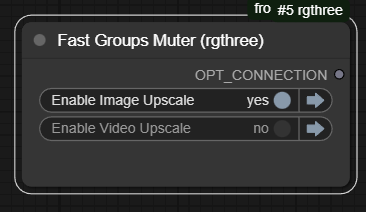
This workflow contains both image upscale and video upscale. Use this to swtich between them.
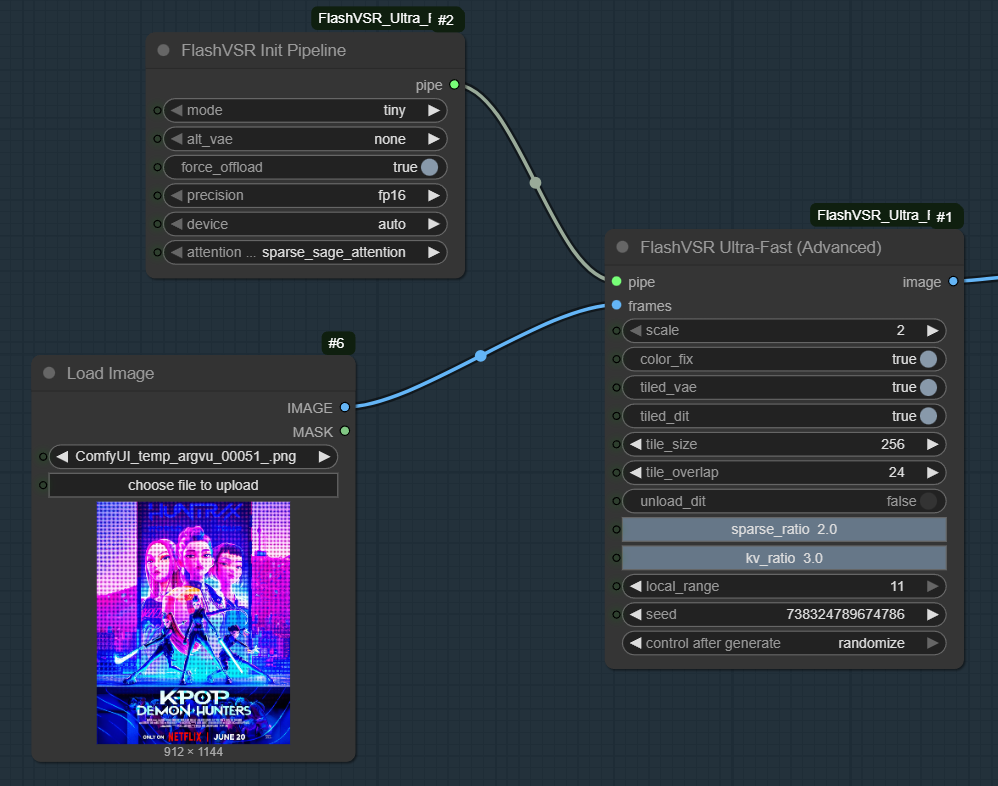
Here is a brief description of the parameters from the repo.
- mode:
tiny-> faster (default);full-> higher quality - scale:
4is always better, unless you are low on VRAM then use2 - color_fix:
Use wavelet transform to correct the color of output video. - tiled_vae:
Set to True for lower VRAM consumption during decoding at the cost of speed. - tiled_dit:
Significantly reduces VRAM usage at the cost of speed. - tile_size, tile_overlap:
How to split the input video. - unload_dit:
Unload DiT before decoding to reduce VRAM peak at the cost of speed.
Most of the time, I just adjust scale and leave everything else the same. I tried to turn off tiled_vae and tiled_dit, but I often got GPU out of memory errors. Therefore, I just leave them. Use Load Image node to select the input image.
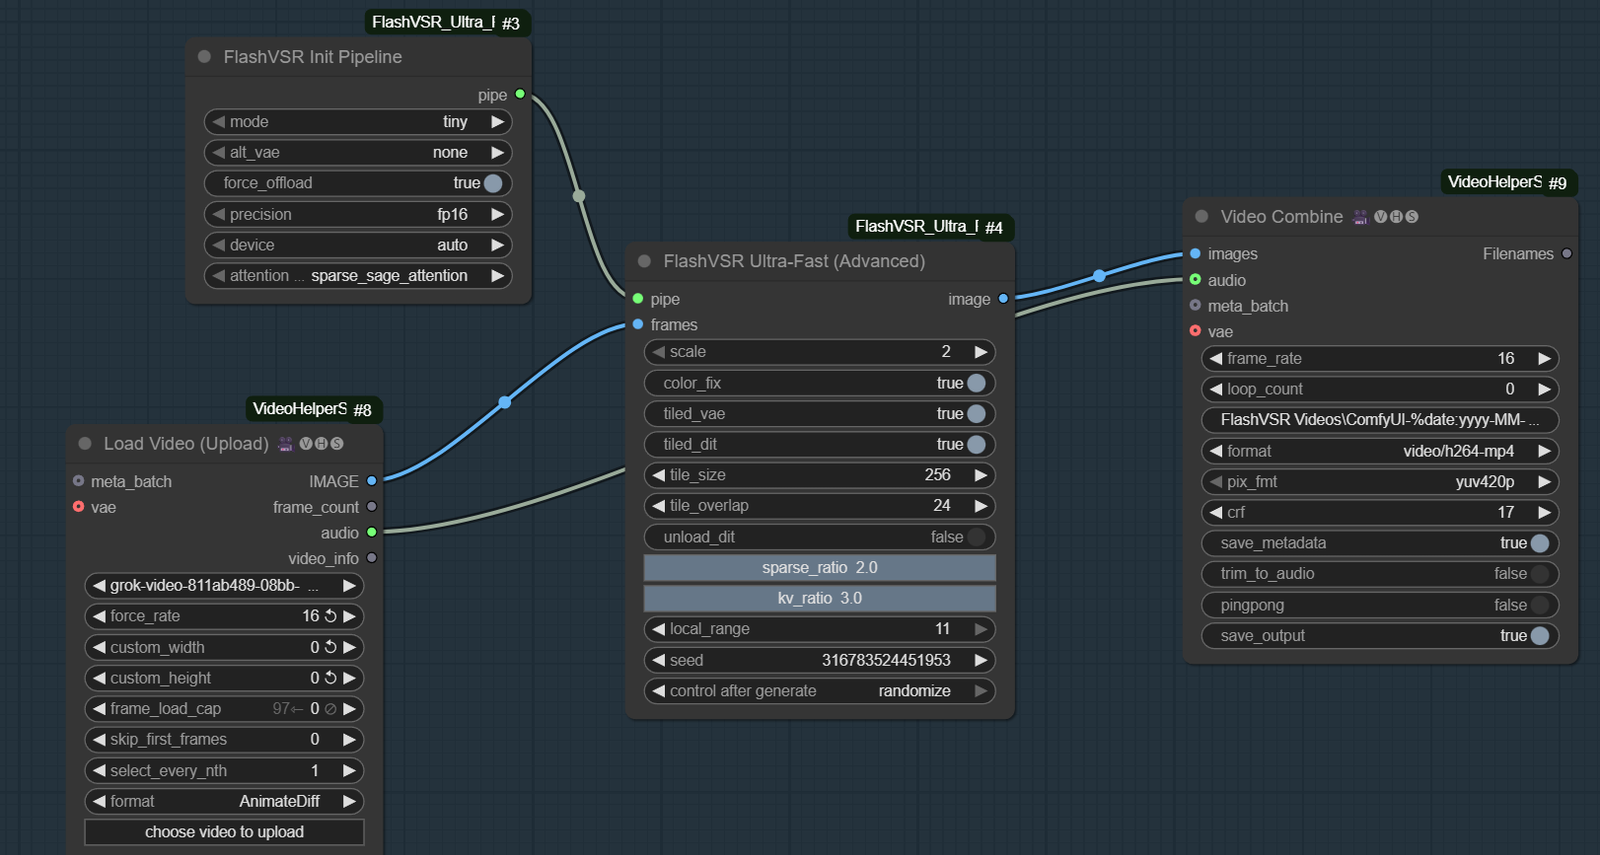
For video upscale, make sure the force_rate in Load Video matches the frame_rate in Video Combine.
Examples
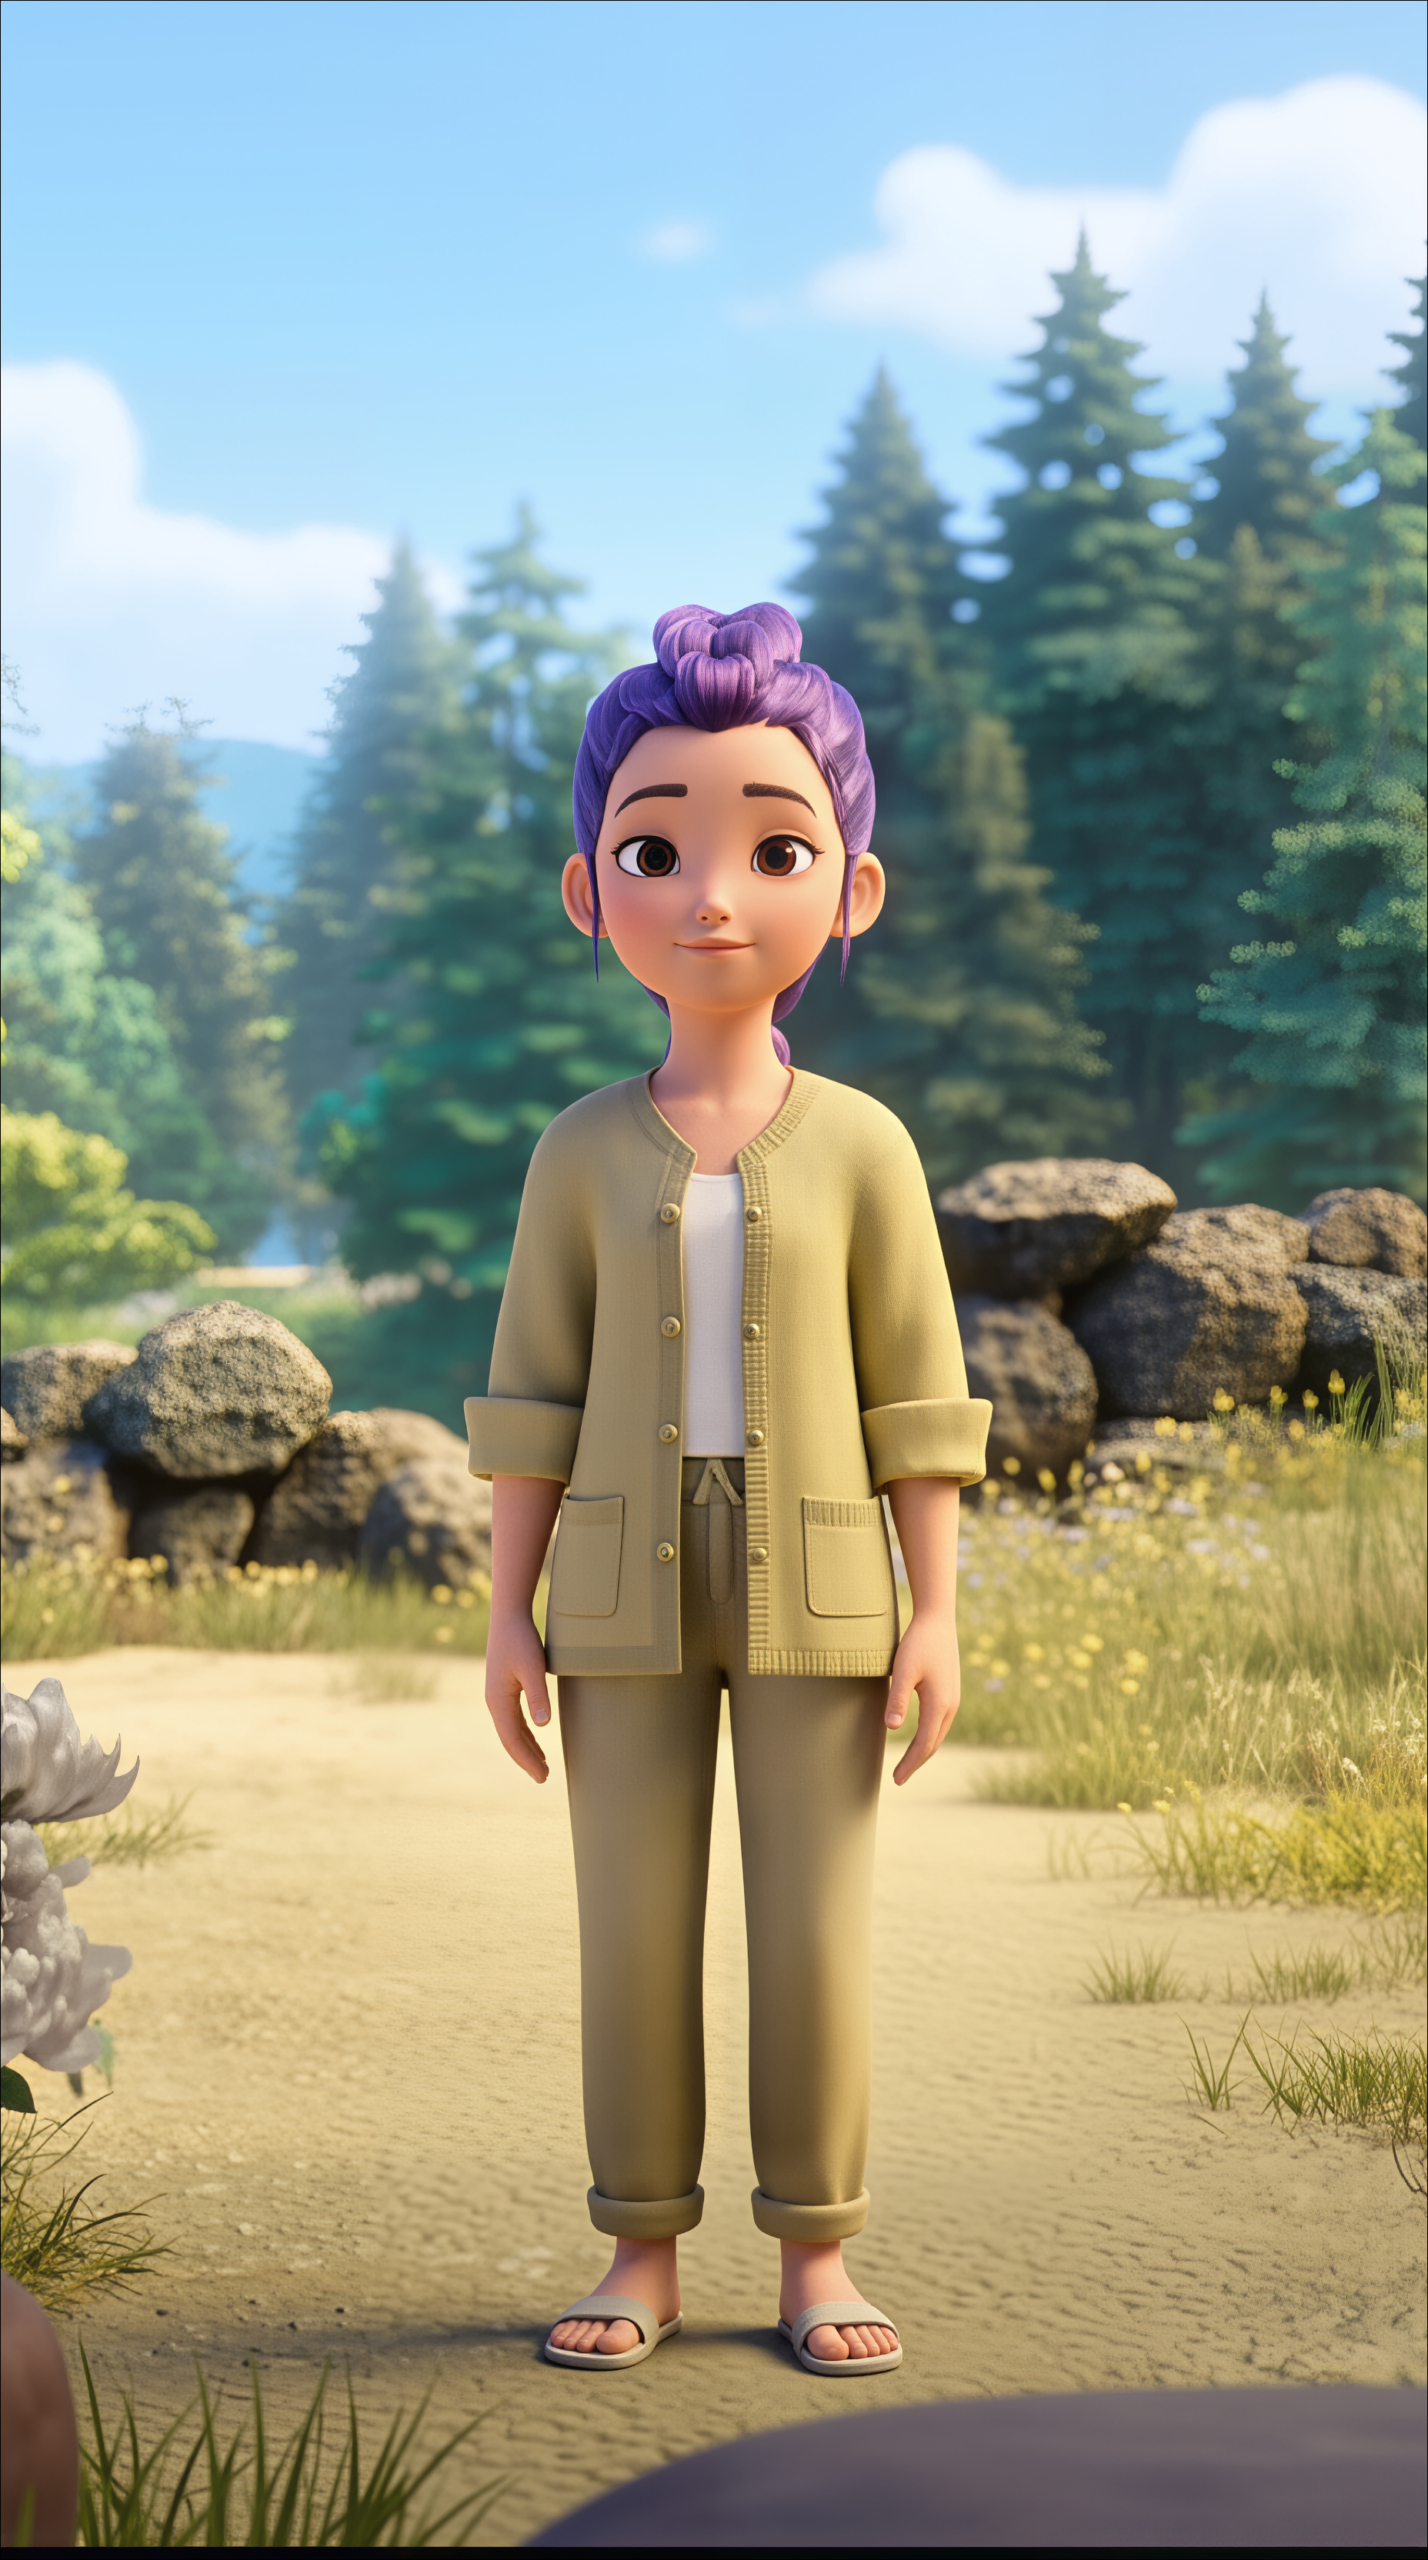
Image upscale examples.
Input image:

Output image:
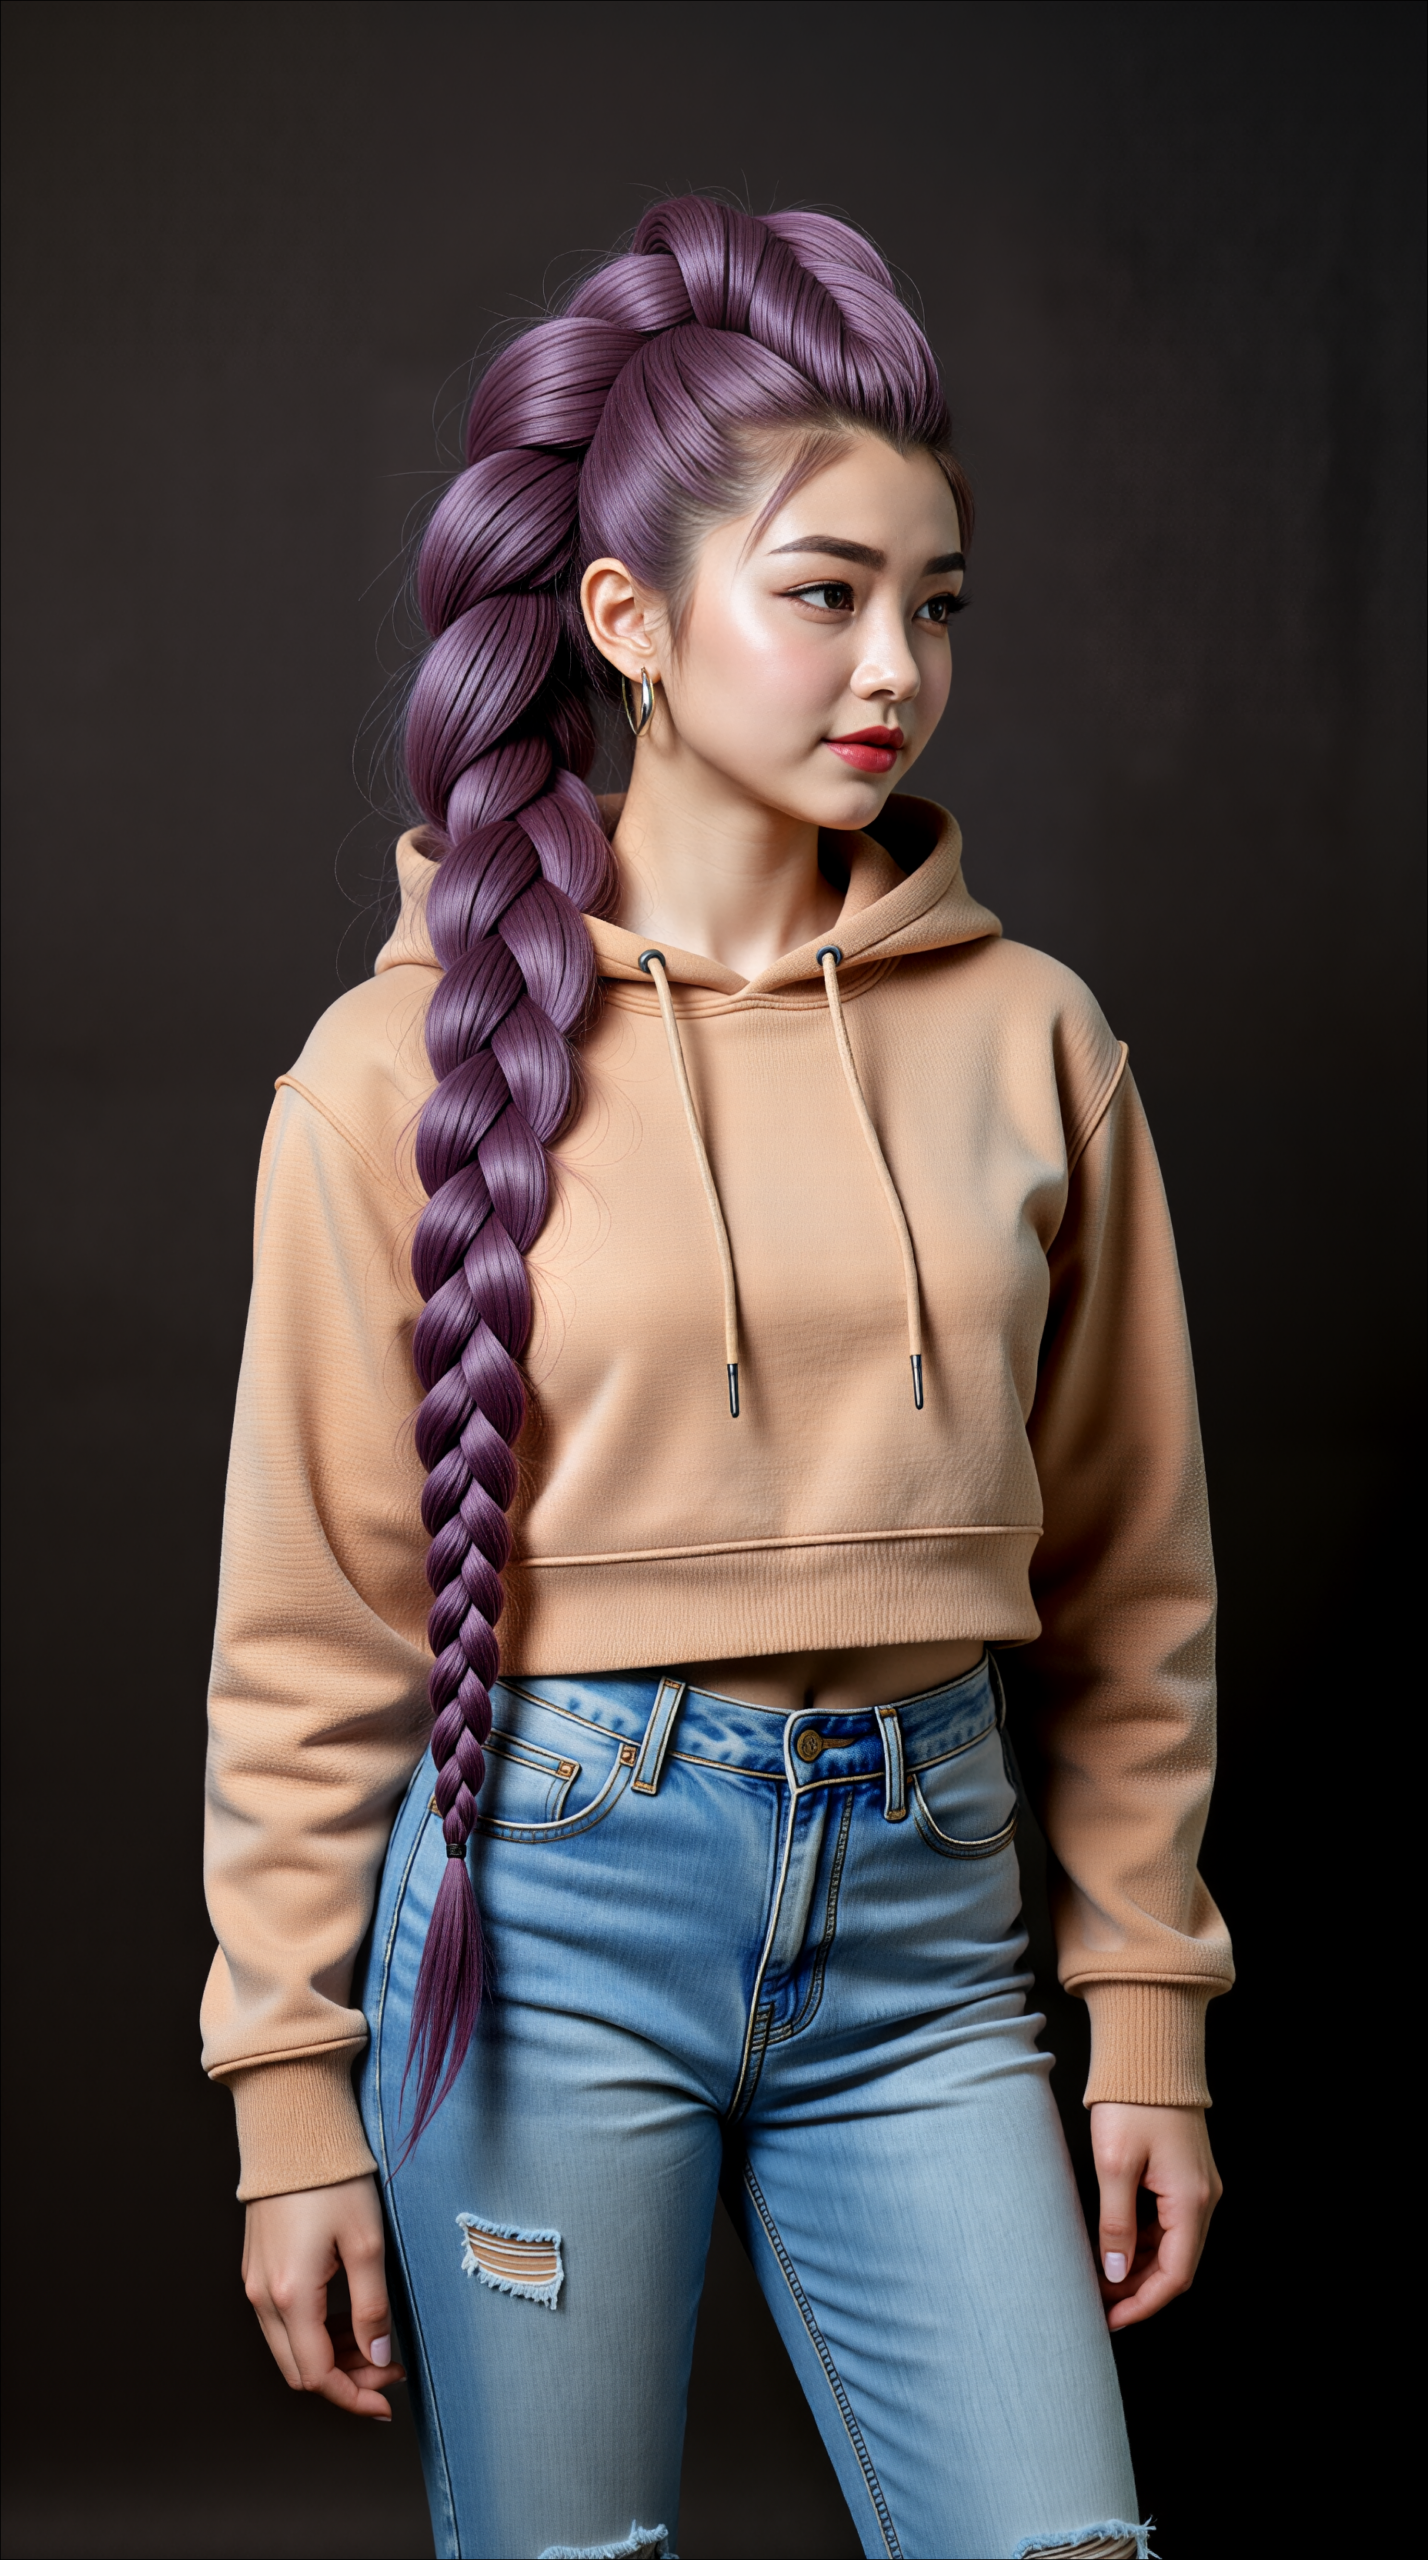
Input image:

Output image:
Video upscale examples.
Input video:
Output video:
Input video:
Output video:
Conclusion
FlashVSR delivers a strong balance of speed and visual quality, making it one of the easiest ways to improve both images and videos inside ComfyUI. Once you add the correct nodes and follow the recommended workflow, the upscaling process becomes fast, stable, and noticeably sharper.
If you already generate AI videos or upscale still images as part of your workflow, FlashVSR is an immediate quality boost with minimal setup. As ComfyUI continues to evolve, FlashVSR is well-positioned to become a standard tool for creators who want reliable, high-quality 4K output.
Leave a Reply