FlashAttention 2 can significantly speed up attention operations for modern AI workloads, but installing it on Windows isn’t straightforward out of the box. This guide walks you through a simple working method using prebuilt wheels.
If you’re thinking about purchasing a new GPU, we’d greatly appreciate it if you used our Amazon Associate links. The price you pay will be exactly the same, but Amazon provides us with a small commission for each purchase. It’s a simple way to support our site and helps us keep creating useful content for you. Recommended GPUs: RTX 5090, RTX 5080, and RTX 5070. #ad
Prerequisites
Before you begin, make sure you have:
- Python (3.10–3.14 recommended)
- NVIDIA GPU with CUDA support
- PyTorch installed with CUDA enabled
- A working
pipenvironment
Step 1: Install Triton (Required)
FlashAttention 2 depends on Triton, which is not natively supported on Windows. You’ll need a custom setup.
Follow this guide to install Triton properly:
https://www.kombitz.com/2025/08/15/install-triton-and-sageattention-on-windows-rtx-50-series/
Make sure Triton is working before proceeding.
Step 2: Download a Prebuilt FlashAttention 2 Wheel
Instead of building from source (which often fails on Windows), use a precompiled .whl file.
Browse available wheels here:
https://github.com/wildminder/AI-windows-whl?tab=readme-ov-file#available-wheels
If you are not sure about your PyTorch version, you can use pip list to find it. For example, this is my setup:
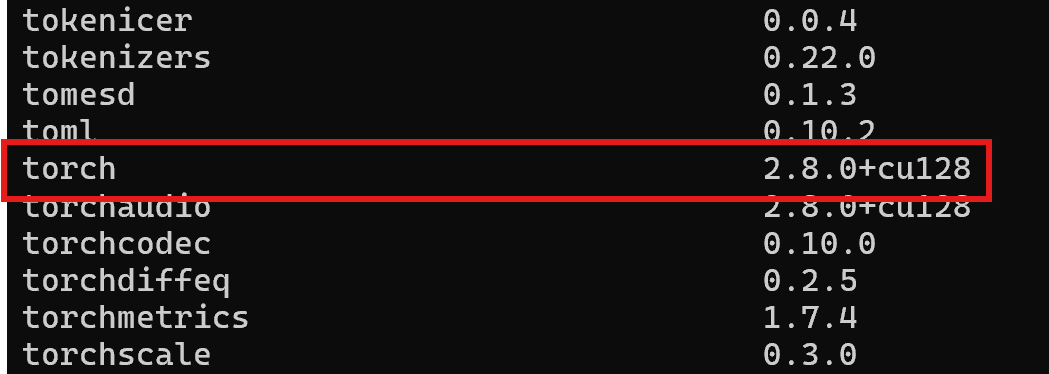
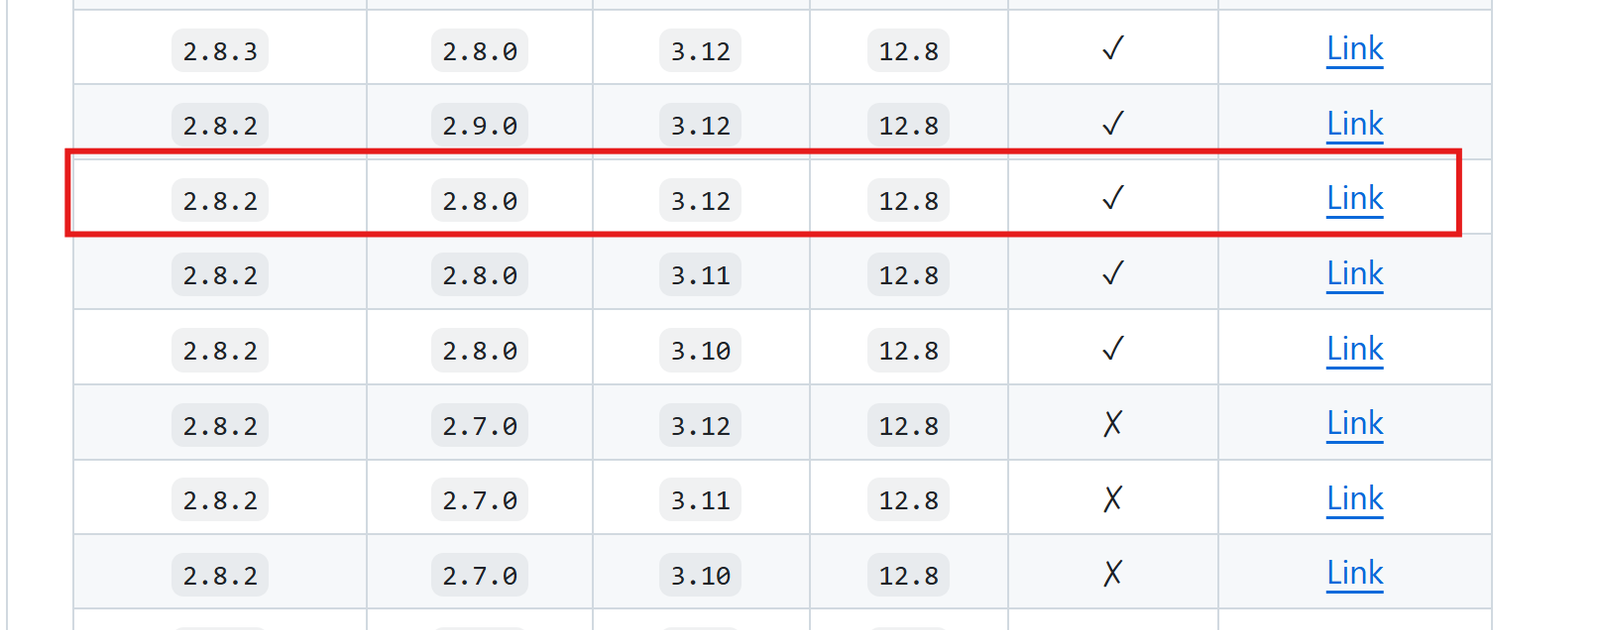
I have PyTorch 2.8.0 and CUDA 12.8. My Python version is 3.12. Using the previous link, this is what I downloaded.
Tips:
- Match your Python version (e.g., cp310, cp311)
- Match your CUDA version
- Download the correct
.whlfile to your local machine
Step 3: Install the Wheel with pip
Open a terminal in the folder where you downloaded the wheel, then run:
python_embeded\python -m pip install "c:\users\username\Downloads\flash_attn-*.whl"
Step 4: Verify Installation
Run Python and test:
import flash_attn
print("FlashAttention installed successfully")
If no errors appear, you’re good to go.
Common Issues
Triton not found
- Ensure Step 1 is completed correctly
- Verify Triton imports without errors
Wheel not compatible
- Double-check Python version (cp310 vs cp311)
- Match CUDA version with your PyTorch install
Import errors
- Make sure you’re using the same environment where PyTorch is installed
Final Thoughts
Installing FlashAttention 2 on Windows is much easier with prebuilt wheels. The key is:
- Get Triton working
- Use the correct wheel
- Match your environment versions
Once set up, you’ll get noticeable performance improvements in supported models.
Leave a Reply