Our tape autoloader is about 3 years old now, which means the warranty is going to expire soon. In the three years that we own it, we have sent it back for repair twice already. I am afraid it might die any time soon. Just in case you are wondering about what tape autoloader we have, it’s a Sony AIT5 autoloader. We also had a Sony AIT3 autoloader before and that one was not reliable either.
Anyway, we want to switch to disk based backup because first, tape autoloader is just not reliable enough and second, we recently subscribed to online and off-site backup service. The local backup is not that critical any more. Disk based backup should be sufficient for us.
The idea is to build a fast machine with a big RAID within $1500.00. It’s not possible to buy a name brand computer with that amount of money, so I decided to build it myself.
Here are the parts. I select these parts with stellar reviews. Only the reviews for the hard drives are not that great, but no other companies has 1.5 GB drives.
- Intel Core i7 920 2.66GHz Processor
This is the entry level Core i7 processor, but you can overclock it with proper hardware. - ASUS P6T Intel X58 Motherboard
A basic LGA1366 MB from Asus, overclockable. - Antec Three Hundres Gaming Case
A black and not-so-flashy case with two 3-speed fans. - LG DVD Burner GH22NS30
- Corsair Power CMPSU-400CX 400w Power Supply
- Sapphire Radeon HD4830 512MB Graphic Card
HD4830 is the best video card you can buy for under $100 now(03/2009). - Vigor Monsoon III LT CPU Cooler
A huge CPU cooler, necessary for overclocking. - Corsair TR3x3G1600C8D Dominator 3GB 3 x 1 GB PC3-12800 DDR3 Memory Kit
The P6T motherboard can use DDR3 2000MHz RAM, but those are too expensive. This is a step above the DDR3 1333 MHz RAM. - Seagate 1.5TB SATA Hard Drive x 4
I took some photos while I assemble the machine. Here are the photos.
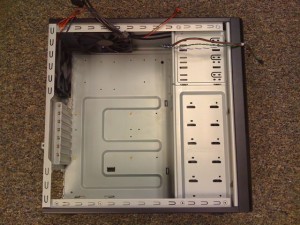
- Take the case out of the box and lay it on a flat surface.
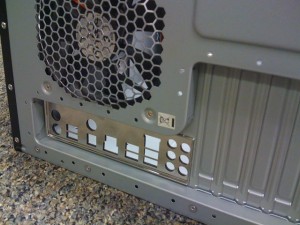
- Gently push in the back panel and replace it with the back panel for P6T. The picture shows the back panel for P6T.
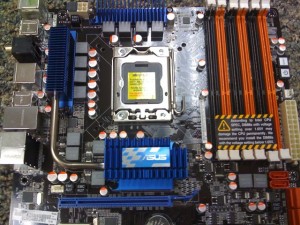
- Release the load lever and remove the protective cap. Carefully insert the CPU and close the load lever. There are notches on the side of the CPU, make sure they match the ones on the socket.
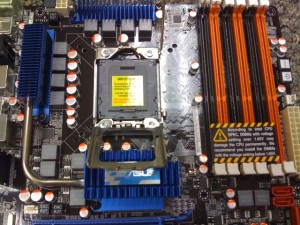
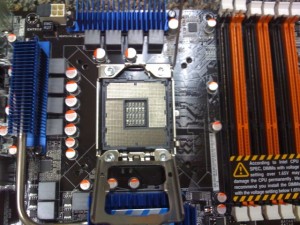
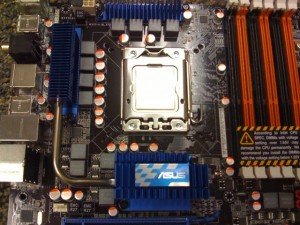
- Take the CPU cooler out of the box and install the brackets for LGA1366. Note that when you install the screws on the tip of the brackets, use counter-clockwise rotation to screw them in. Peel off the sticker.
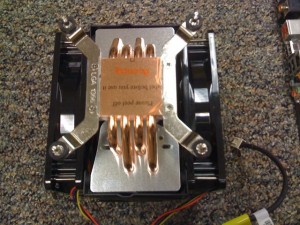
- Apply a bit of thermal paste and install the CPU cooler. Note the orientation, we want the air flows to the back of the board.
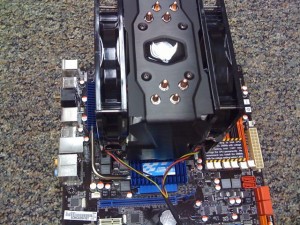
- Turn the motherboard over and install the bracket and nuts. Turn the motherboard over and connect the fans to CPU_FAN connector on the motherboard.
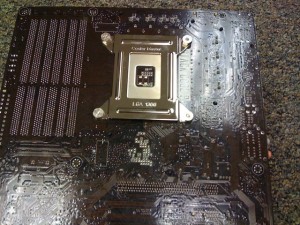
- Install the three RAM modules on the orange slots.
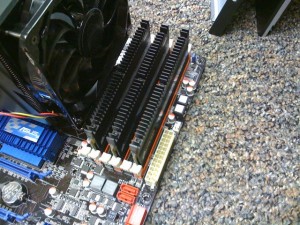
- Before we install the motherboard onto the case, install the DVD burner and the hard drives first. I installed an additional hard drive as the system drive (not shown in the picture).
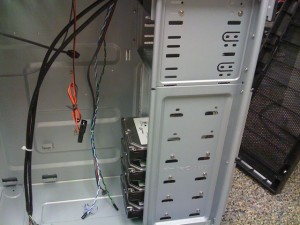
- Install additional standoffs on the case to match the holes on the motherboard.
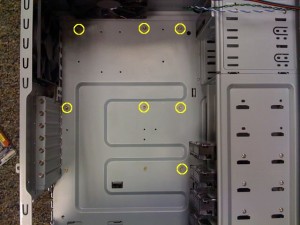
- Install the motherboard onto the case. Note that the ATX power connector is hard to reach, you might want to connect it first before you install the motherboard.
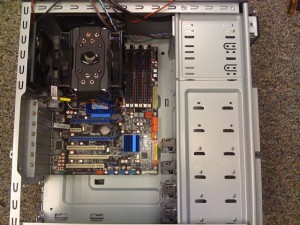
- Install the power supply.
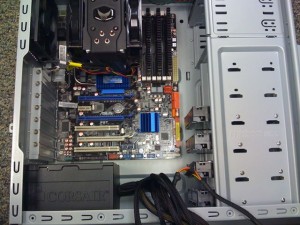
- Install the video card.
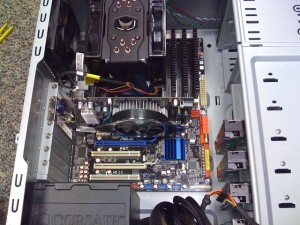
- Connect all the cables. P6T includes a Q-Connector which can help you with the system panel connection, be sure to use it. One note about the cables is if you have problems figuring out the polarity. Look closely at the connectors, the positive is marked by a small triangle. Another note about the front panel connection, it’s labeled as AAFP on the motherboard. The connector for the case is labeled as HDA.
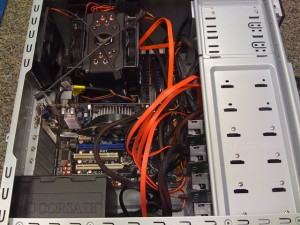
- Connect the power cable and other peripherals and test it.
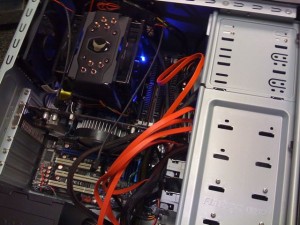
- After testing OK, tidy up the cables and make sure they don’t obstruct air flow.
Now that I got everything assembled, my next project is to overclock the machine. Stay tuned.
This post may contain affiliated links. When you click on the link and purchase a product, we receive a small commision to keep us running. Thanks.

Leave a Reply