
Roop is a Python application that lets you replace a face in a video (deepfake or face swap). It’s getting a lot of attentions now. The use is quite straight forward, but the installation could be tricky if you don’t know how to fix the installation problem. I am going to show you how to install it on Windows.
If you’re thinking about purchasing a new GPU, we’d greatly appreciate it if you used our Amazon Associate links. The price you pay will be exactly the same, but Amazon provides us with a small commission for each purchase. It’s a simple way to support our site and helps us keep creating useful content for you. Recommended GPUs: RTX 5090, RTX 5080, and RTX 5070. #ad
Basic Installation
- Visit this page. Follow the Installing on Windows instructions to download and install git if you don’t have git on your computer.
- Visit this page to download and install Python 3.10.6 if you don’t have Python on your computer. Other 3.10 versions should work too. I just want to keep using the same version that my Automatic1111’s webui installation uses.
- Follow instructions on this page to install ffmpeg.
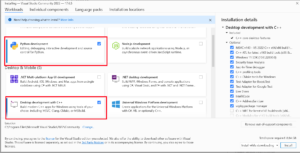
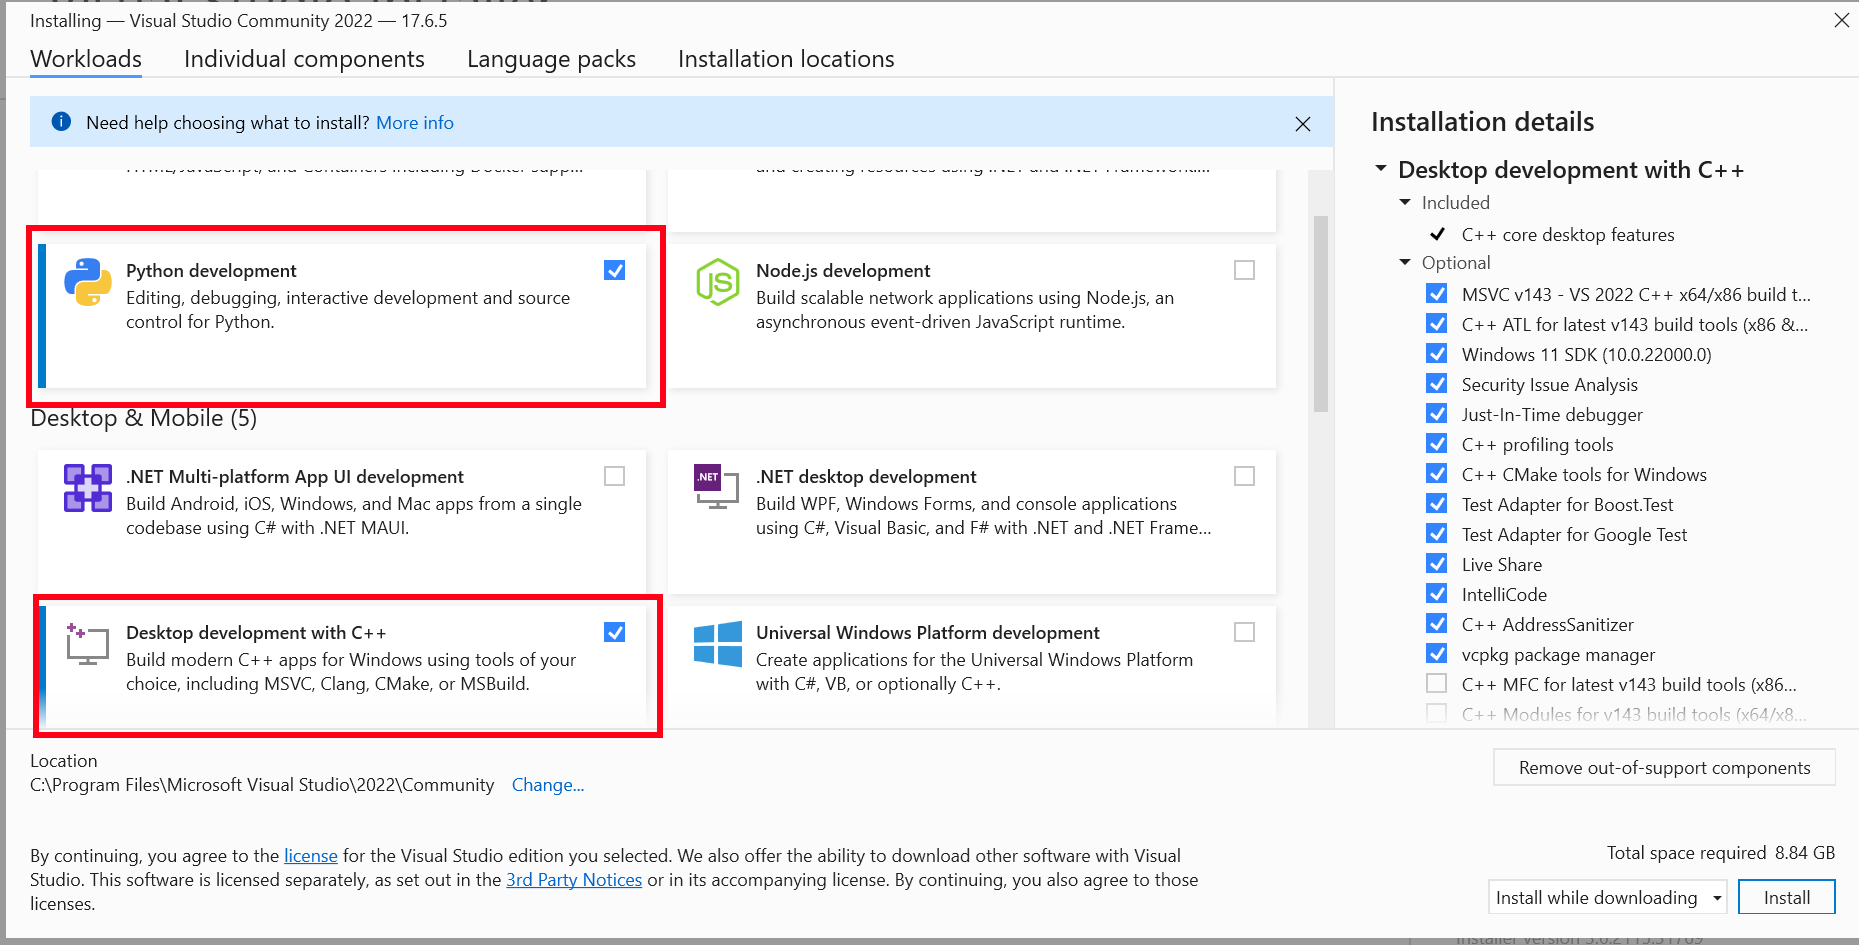
- Visit this page to download and install Visual Studio Community. During installation pick Python development and Desktop development with C++.
- Reboot your computer.
- Open up a command prompt.
- In the command prompt, change directory to where you want roop to be installed.
- Type the following in the command prompt to download roop
git clone https://github.com/s0md3v/roop
- Change the directory to roop by typing the command.
cd roop
- Create a venv directory.
python -m venv venv
- Install the requirement for roop.
venv\Scripts\pip install -r requirements.txt
- The basic installation is done. You can run it by typing this.
venv\Scripts\python run.py
AMD (DirectML) Installation
- Note that this does not work at the time of the writing (7/12/2023). It might be a bug. There is no error messages, but the application just crashes when I click on Start.
- If you have an AMD GPU, you can try this. After basic installaton is done. While in the roop directory, type this to uninstall onnxruntime and onnxruntime-directml if they are installed
venv\Scripts\pip uninstall onnxruntime onnxruntime-directml
- Install onnxruntime-directml. Note that you might need to install a different version in the future.
venv\Scripts\pip install onnxruntime-directml==1.15.1
- You can now run roop with DirectMLvenv\Scripts\python run.py –execution-provider dml
Nvidia (Cuda) Installation
- If you have a Nvidia GPU, you can try this. First, install CUDA Toolkit 11.8 if you do not have it already.
- After basic installaton is done. While in the roop directory, type this to uninstall onnxruntime and onnxruntime-gpu if they are installed
venv\Scripts\pip uninstall onnxruntime onnxruntime-gpu
- Install onnxruntime-directml. Note that you might need to install a different version in the future.
venv\Scripts\pip install onnxruntime-gpu==1.15.1
- You can now run roop with Cuda
venv\Scripts\python run.py --execution-provider cuda
Example
After you run the application, you will see the GUI interface. Click on Select a face to select an image with a face. Click on Select a target to select the video. Check the options as needed. If the video has audio, check Keep fps, otherwise the video and audio will be out of sync.
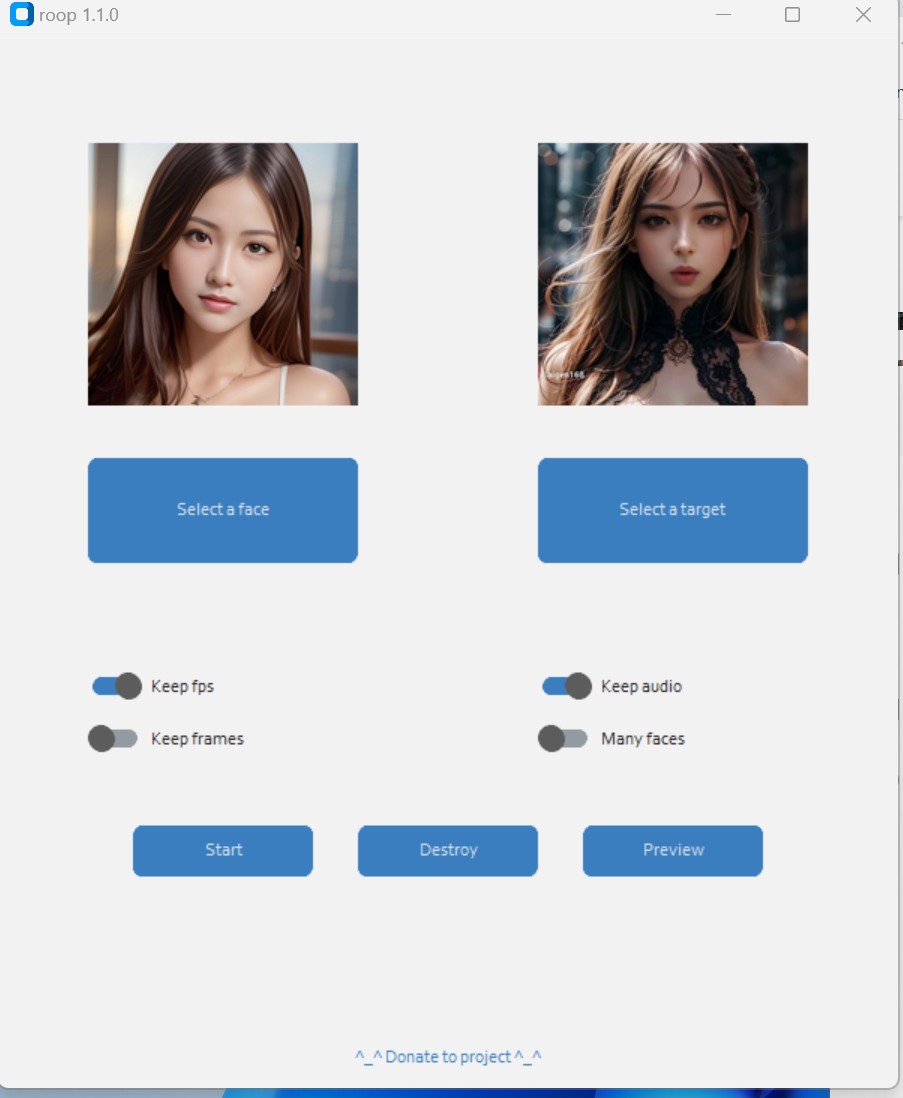
Click on Start and you will be prompted to enter a name for the output video.
Input video: (Credit: https://www.instagram.com/aigen168/)
Input image: (Credit: https://www.instagram.com/ai.melina.b/)

Output video:
Note that there is a NSFW filter, so it does not work with NSFW videos.
Further Reading
Roop is no supported. Please see this post about the new Deepfake tool – Rope.
Leave a Reply