
In the digital age, image editing and watermarking are essential for enhancing visual content. With the minPaint extension in Automatic1111 Stable Diffusion Web UI, these tasks become a breeze. This user-friendly browser extension simplifies image modification and watermarking, offering a streamlined platform for creative expression.
If you’re thinking about purchasing a new GPU, we’d greatly appreciate it if you used our Amazon Associate links. The price you pay will be exactly the same, but Amazon provides us with a small commission for each purchase. It’s a simple way to support our site and helps us keep creating useful content for you. Recommended GPUs: RTX 5090, RTX 5080, and RTX 5070. #ad
The minPaint extension seamlessly integrates into Automatic1111 Stable Diffusion Web UI, providing a diverse range of editing tools, including brushes, shapes, filters, and text overlays. Its standout feature is the ability to add watermarks, allowing you to protect your work or personalize your visuals professionally.
In this blog post, we’ll explore the advantages and functionalities of the minPaint extension. We’ll guide you through its intuitive interface, discuss editing options, and demonstrate how to effortlessly add watermarks. Whether you’re a beginner or an experienced user, the minPaint extension is sure to become a valuable tool for elevating your visual content. Let’s dive into this exciting journey of image enhancement together.
Enable the Extension
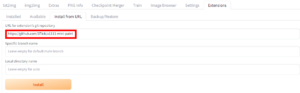
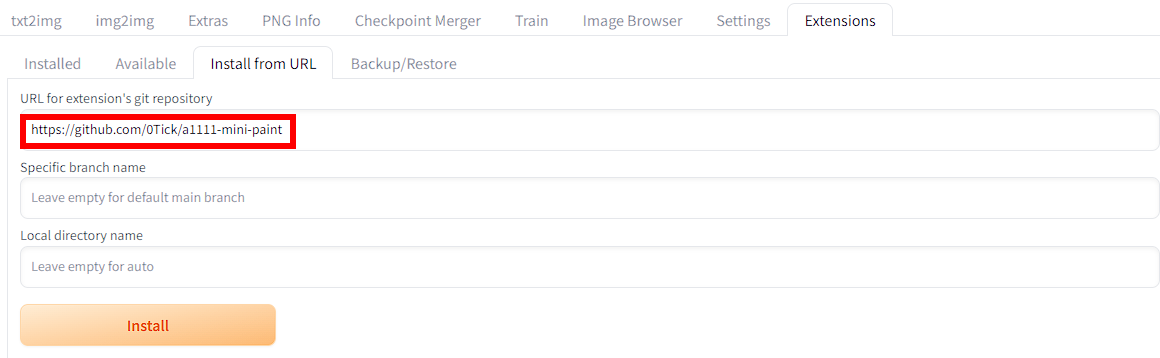
- Click on the Extension tab and then click on Install from URL.
- Enter https://github.com/0Tick/a1111-mini-paint in the URL box and click on Install.
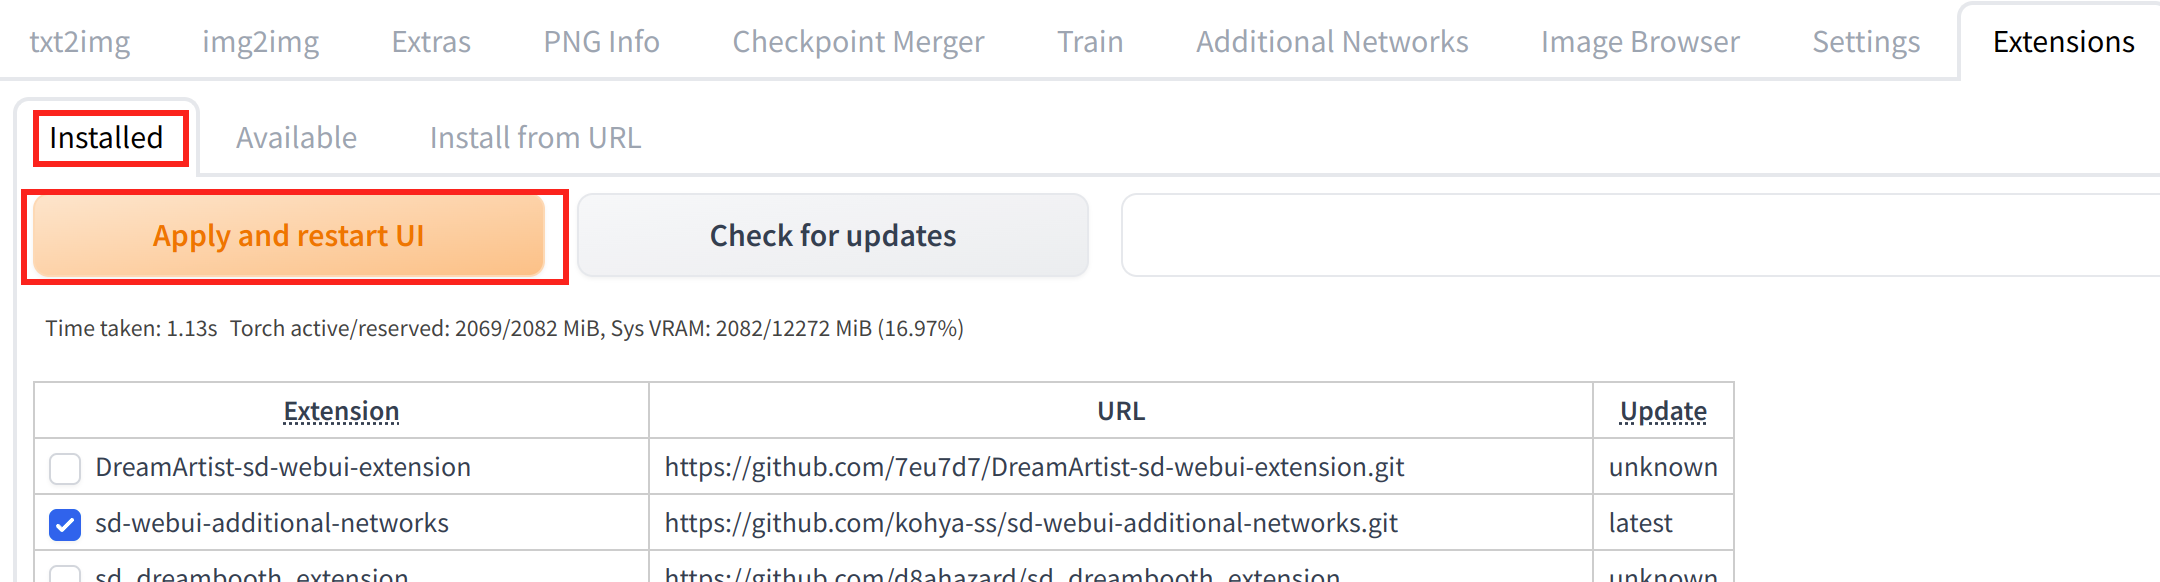
- Click on Installed and click on Apply and restart UI.

Using miniPaint
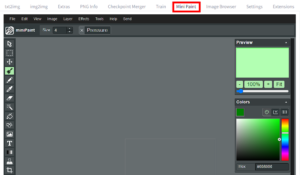
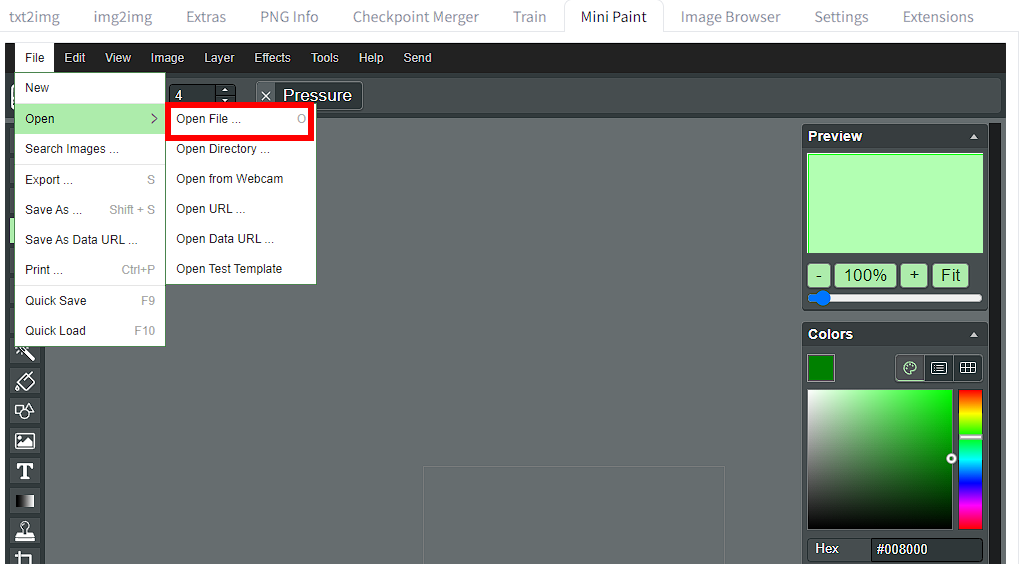
- After installation, a new tab MiniPaint is available.
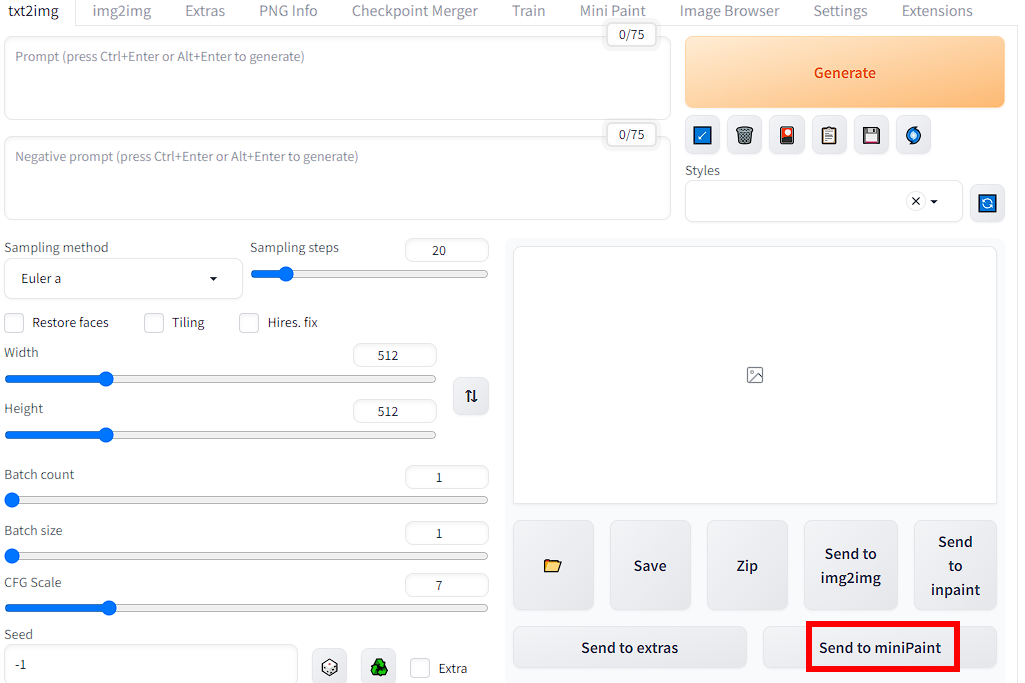
- There are several ways to send an image to miniPaint for editing.
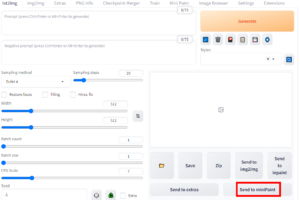
- From txt2img:
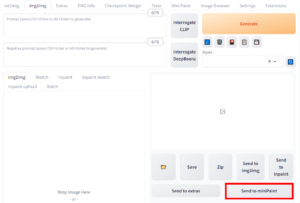
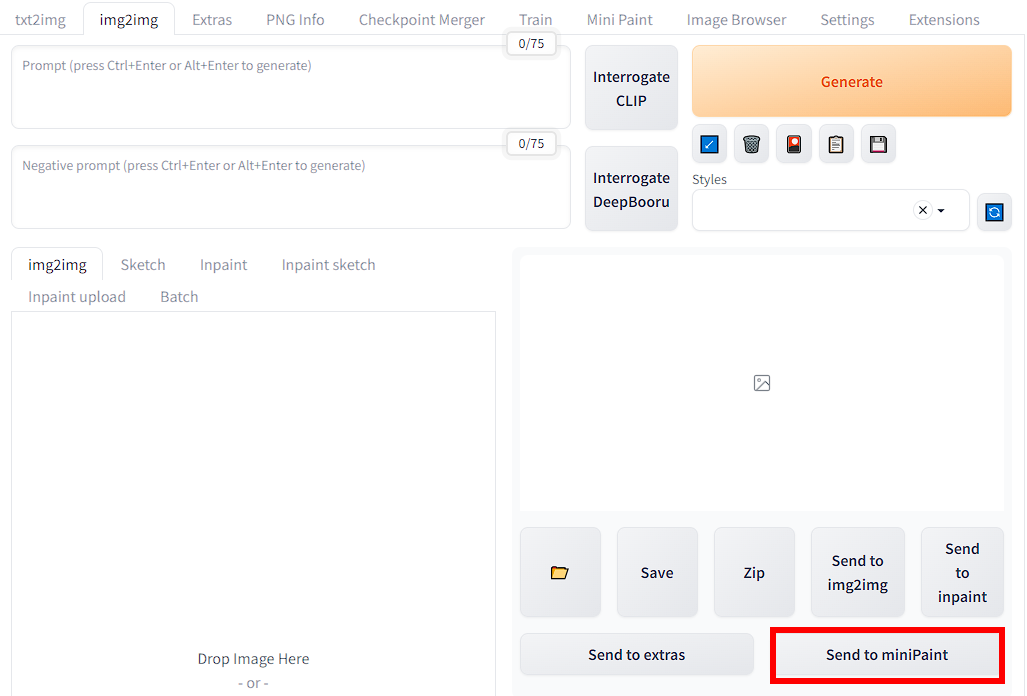
- From img2img:
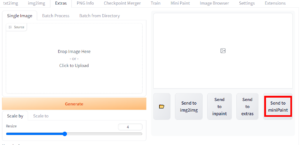
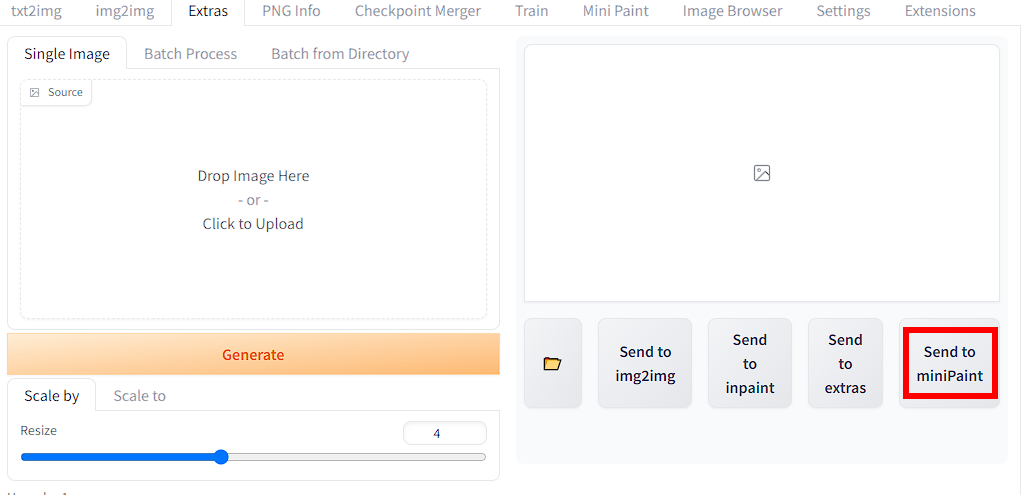
- From Extras:
- Drag and drop an image to the MiniPaint.
- Click on the MiniPaint menu File -> Open -> Open File …
- From txt2img:
- To add a watermark to an image, first open an image by using any of the methods mentioned earlier.
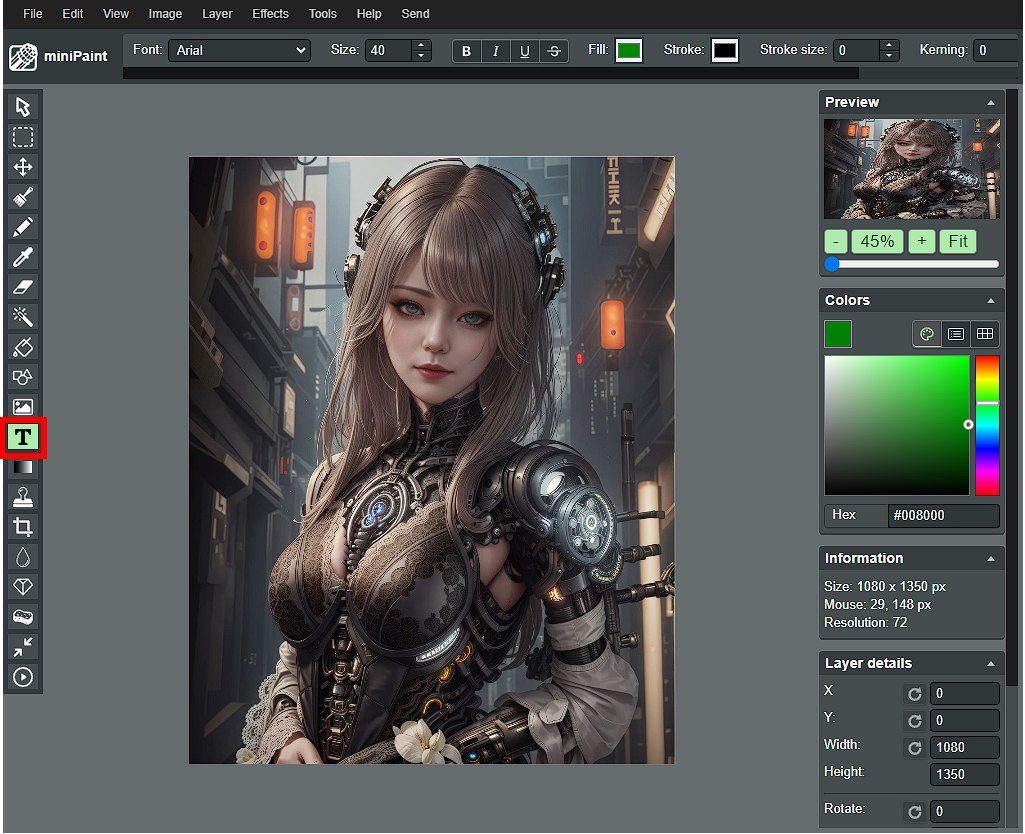
- Click on the T icon.

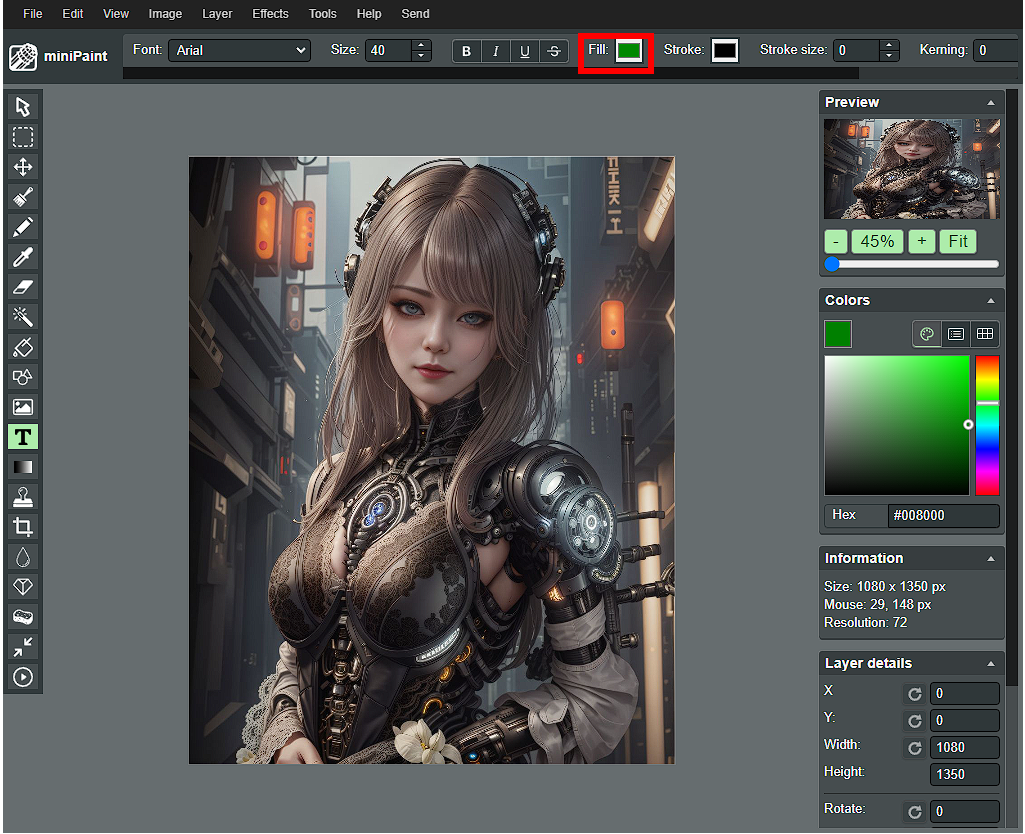
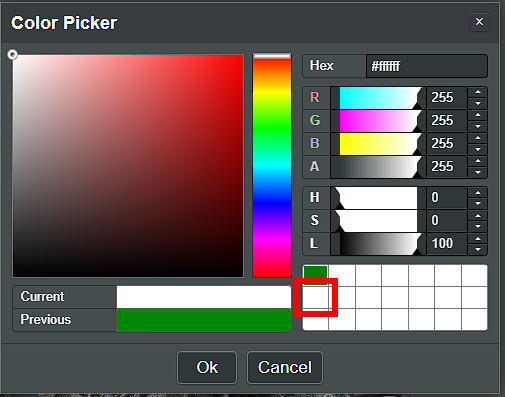
- The default color is green. To change the color, click on Fill and select a color of your choice. I picked white. Click on Ok to continue.
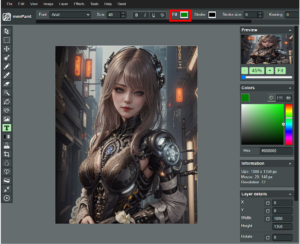

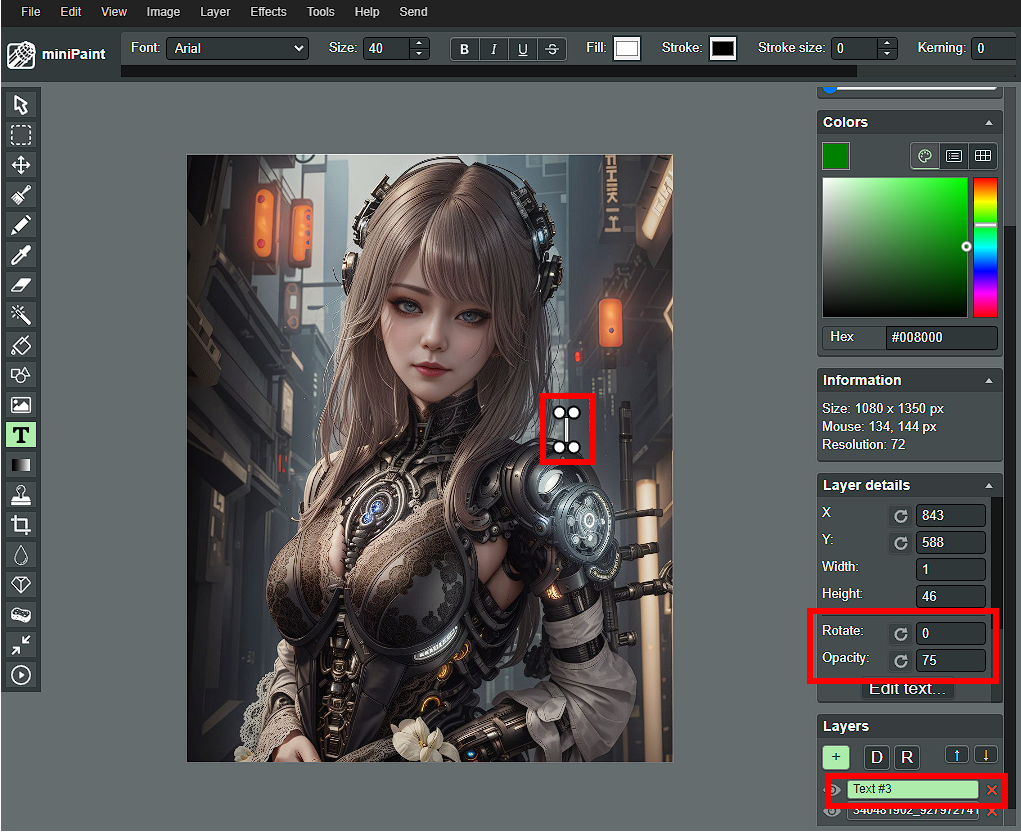
- Change the Font or Size as needed.
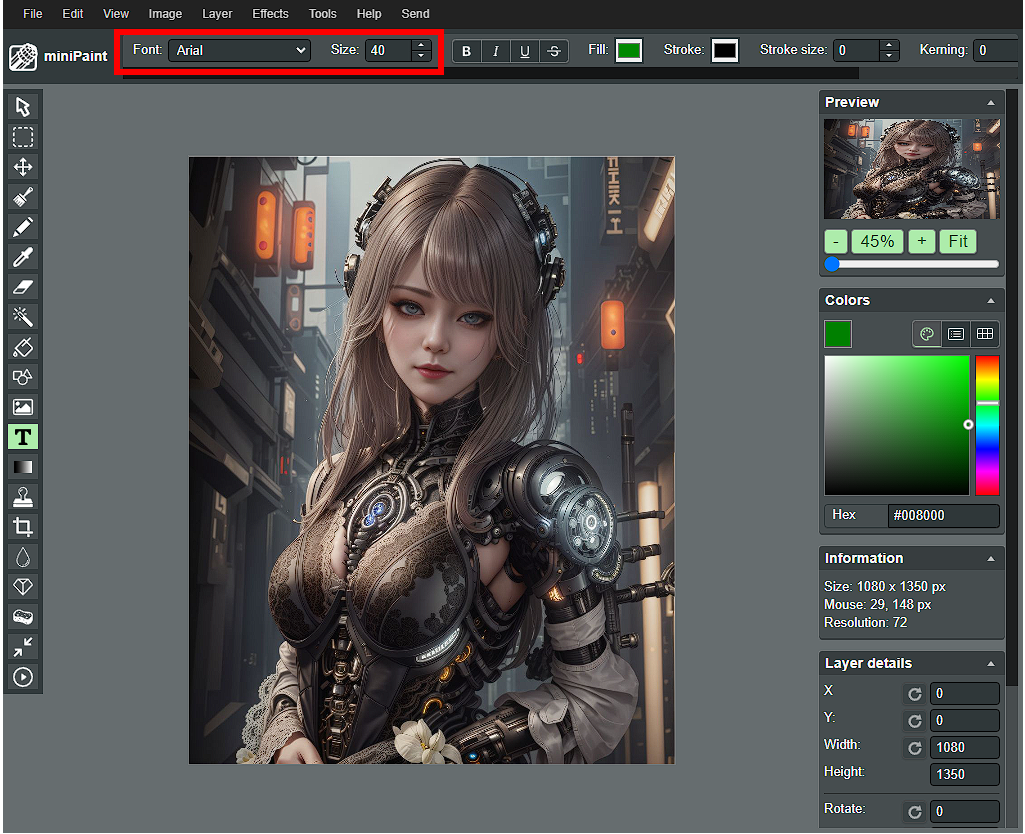
- Click on the spot you want to add a watermark. Note that the text is created on a different layer. Scroll down if you don’t see the Layer details and Layers. Before you start typing, change the Rotate or Opacity as needed. I often set the Rotate to 90 and set the Opacity to 60 to 75. In this case, I just set the Opacity to 75.

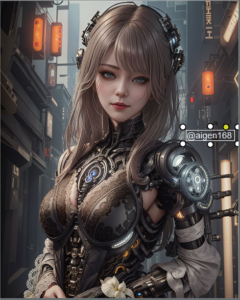
- Type your name.
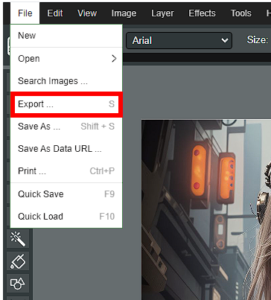
- Finally, click on File -> Export or type the keyboard shortcut (S) while the focus is not in the text box to export the picture. I often pick the JPG format at 90% quality, which is good enough for social media posting.
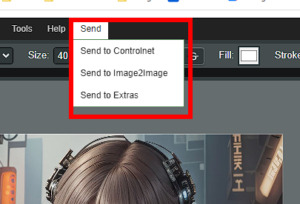
- Note that if you are just doing minor editing and you want to send the picture back to webui for further prosessing, you can click on Send to select one of the three options.


At last, I want to emphasize that if you are a content creator, it’s better for you to have watermark on your work. There are just too many people using other people’s art work. If you have watermark, at least people know the work is from you. Don’t just put your watermark on the edge, otherwise it will be easily cropped out. Add the watermark in the final step of your work flow. If you add the watermark and send it back to webui for further processing, the watermark will distort.
Leave a Reply