
Krea-2-Raw GGUF brings the high-quality image generation capabilities of Krea AI to ComfyUI users in an efficient GGUF format. Compared to the Turbo version, the Raw model prioritizes maximum image quality and prompt fidelity, making it an excellent choice when speed is less important than achieving the best possible results.
If you’re thinking about purchasing a new GPU, we’d greatly appreciate it if you used our Amazon Associate links. The price you pay will be exactly the same, but Amazon provides us with a small commission for each purchase. It’s a simple way to support our site and helps us keep creating useful content for you. Recommended GPUs: RTX 5090, RTX 5080, and RTX 5070. #ad
Since the overall workflow is nearly identical to the Krea-2-Turbo GGUF workflow, this guide focuses on the small number of changes needed to use the Raw model. If you are already familiar with the Turbo workflow, you’ll be up and running in just a few minutes. For a detailed explanation of each node and installation steps, see our Krea-2-Turbo GGUF workflow guide. This article covers only the differences specific to the Raw model.
Krea-2-Raw GGUF Models
- GGUF Models: You can find the GGUF models here. Pick one that’s suitable for your GPU. I have a RTX 5090 and I use krea2_raw-Q8_0.gguf.
- LoRA: There is a krea2_turbo_lora_rank_64_bf16.safetensors LoRA available, which essentially converts the Raw model into a “turbo” model. You can experiment with using lower strengths and varying step counts to find the optimal results.
ComfyUI/
├── models/
│   ├── unet/
│   │   └── krea2_raw-*.gguf
│   ├── loras/
│   │   └── krea2_turbo_lora_rank_64_bf16.safetensors
Krea-2-Raw GGUF Workflow
- Download the workflow.
- Launch ComfyUI.
- Drag the workflow JSON onto the canvas.
- Verify that all required models load successfully. If not, use ComfyUI Manager to install the missing custom nodes.
- If any nodes appear in red, confirm that the models are located in the correct directories.
Nodes
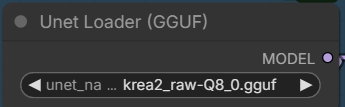
Select the Krea 2 Raw GGUF model here.
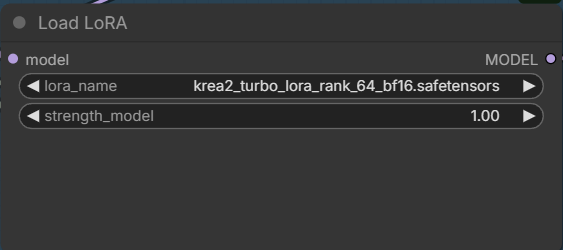
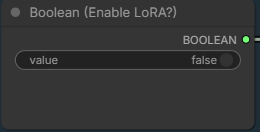
Pick the turbo LoRA if you want to try it. Remember to turn on the switch to enable LoRA.
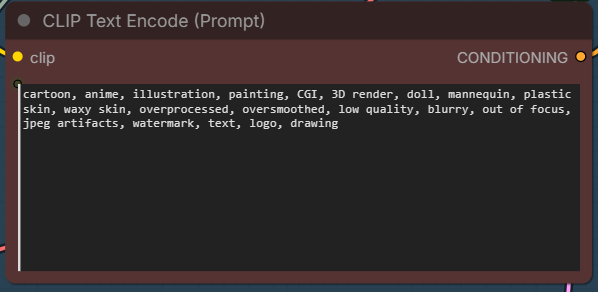
You can use negative prompt now. Note that this is for generating realistic images. Adjust this to suit your needs.
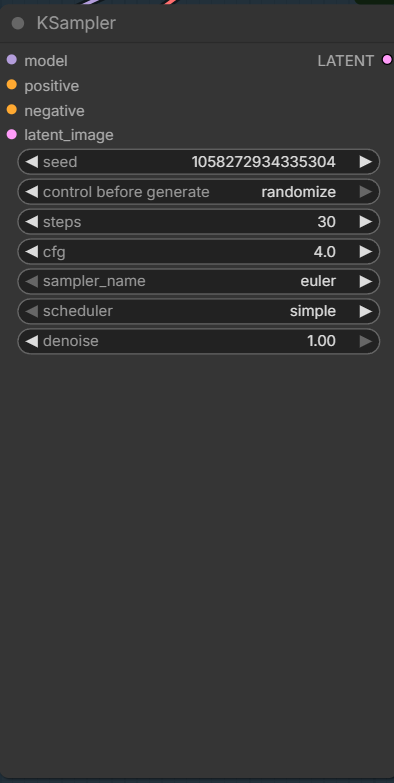
I used steps 30 and cfg 4 for my tests, because that’s what ai-toolkit used in LoRA training. The official documentation suggests steps 52 and cfg 3.5.
Examples
Disclaimer: The examples shown in this article are for demonstration purposes only. I did not perform extensive testing, and the prompts have not been optimized for any specific model. Image quality and outputs may vary depending on the model, settings, LoRAs, and workflow used. Please do not use these examples to evaluate or compare the performance of any AI model.
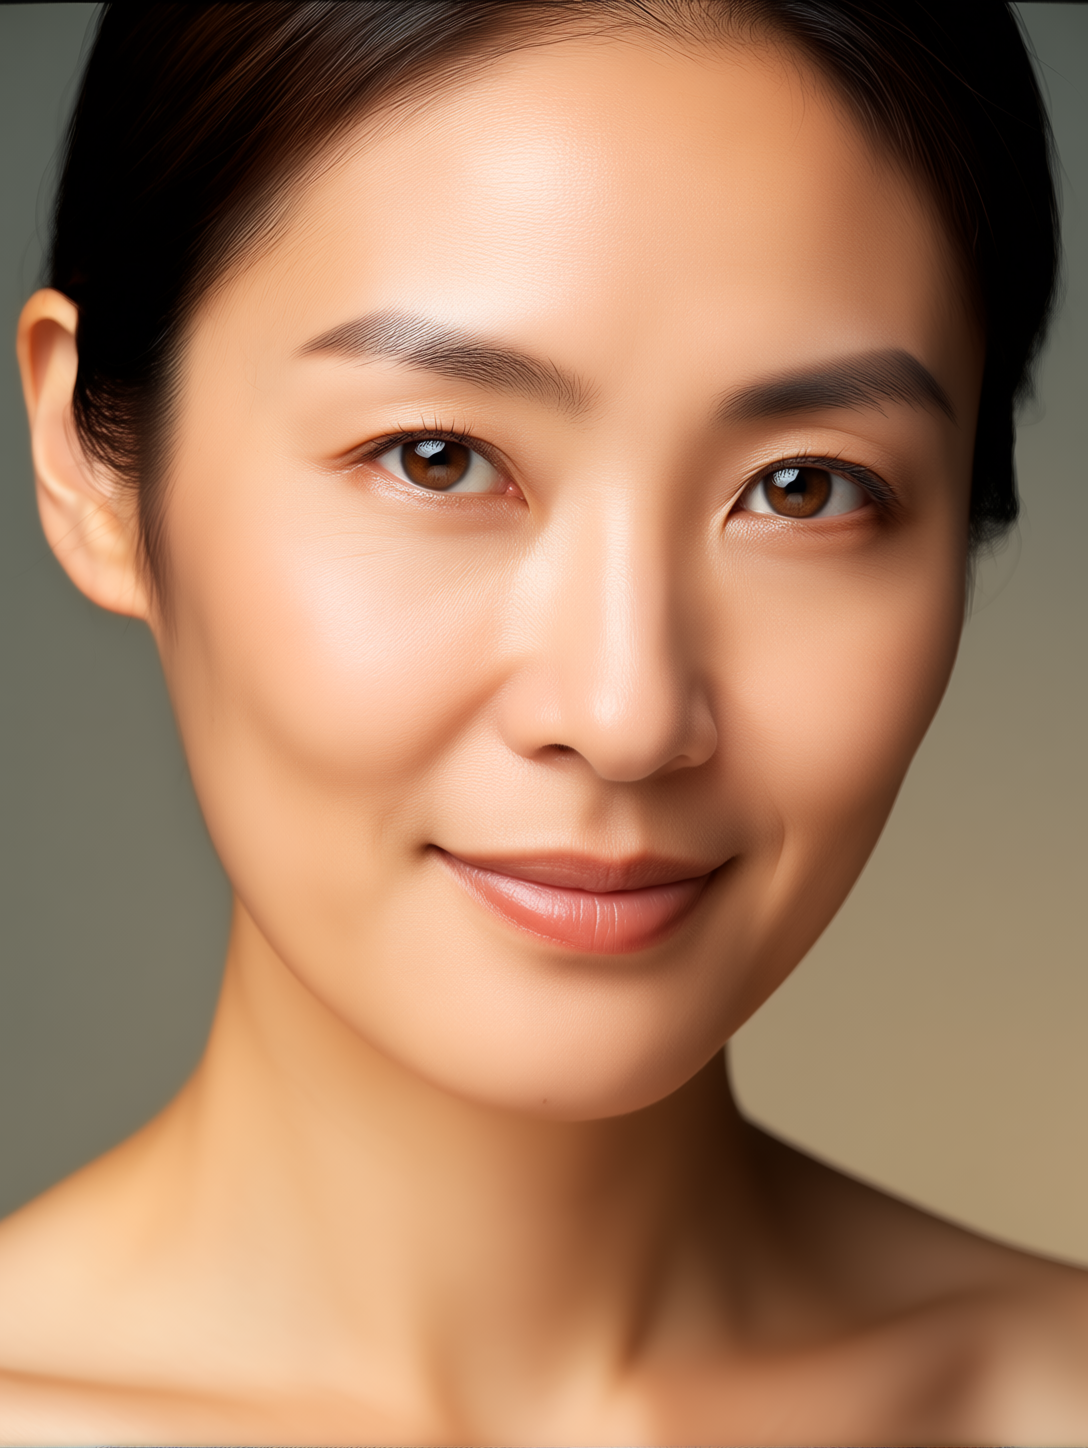
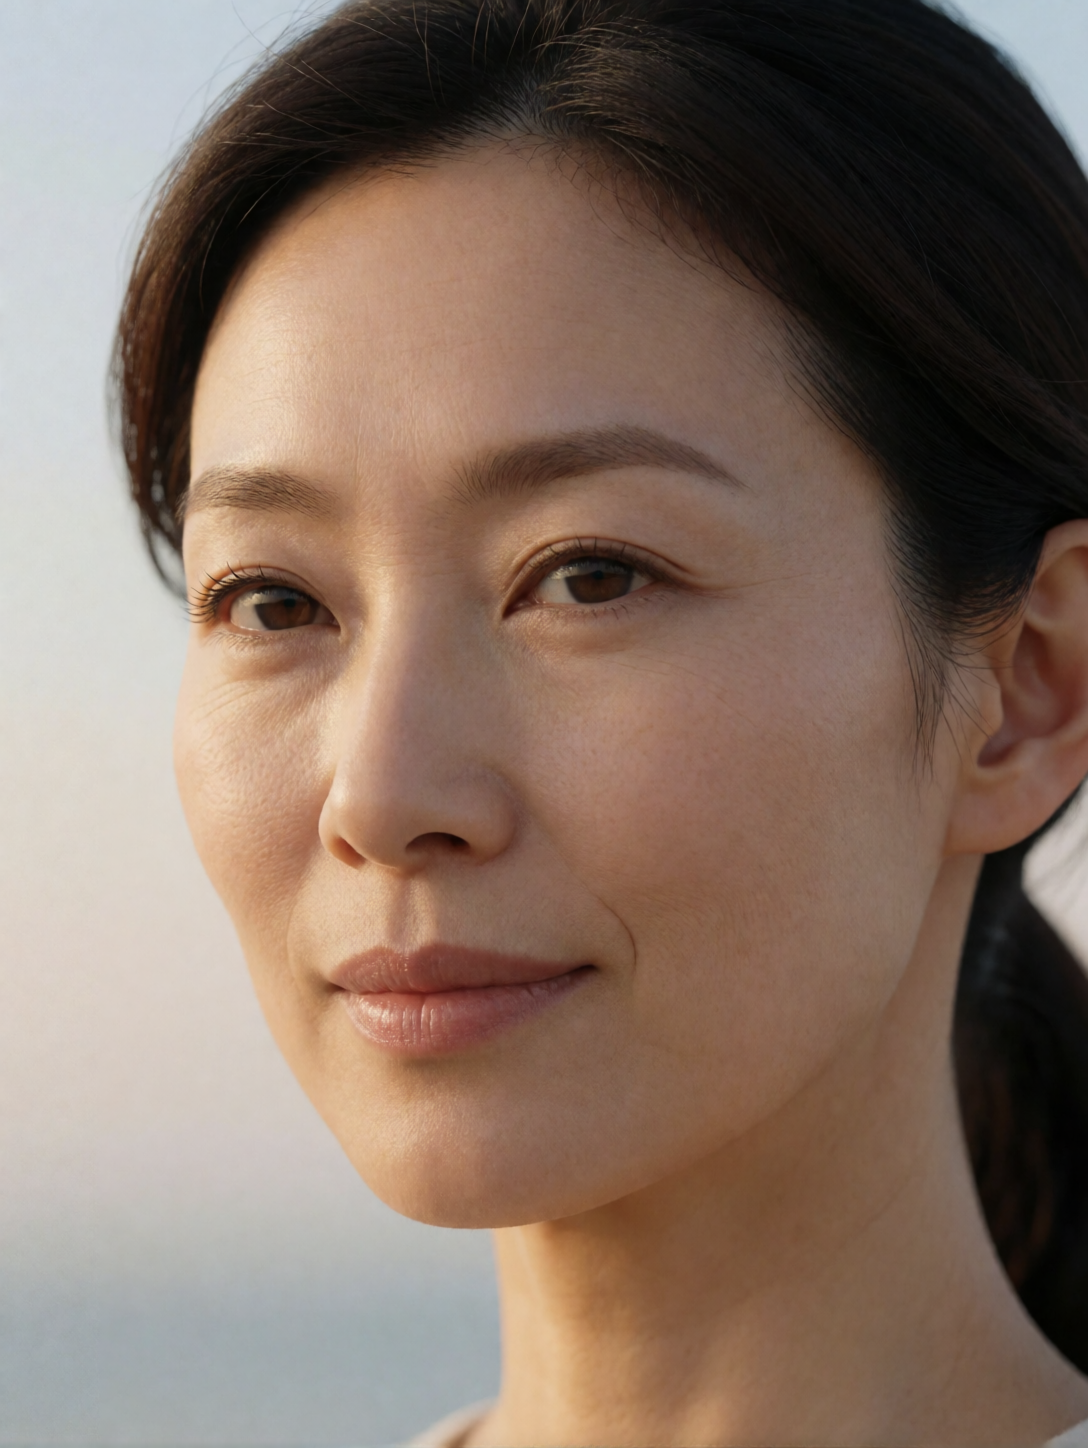
Ultra-realistic portrait of an East Asian woman with warm natural skin tone, soft diffused daylight, crisp facial details, natural pores and fine hair texture, minimal makeup, slight smile, smooth gradient background, shallow depth of field, cinematic realism, perfect color accuracy, lifelike eyes, gentle catchlights, high dynamic range, 8K photo aesthetic.
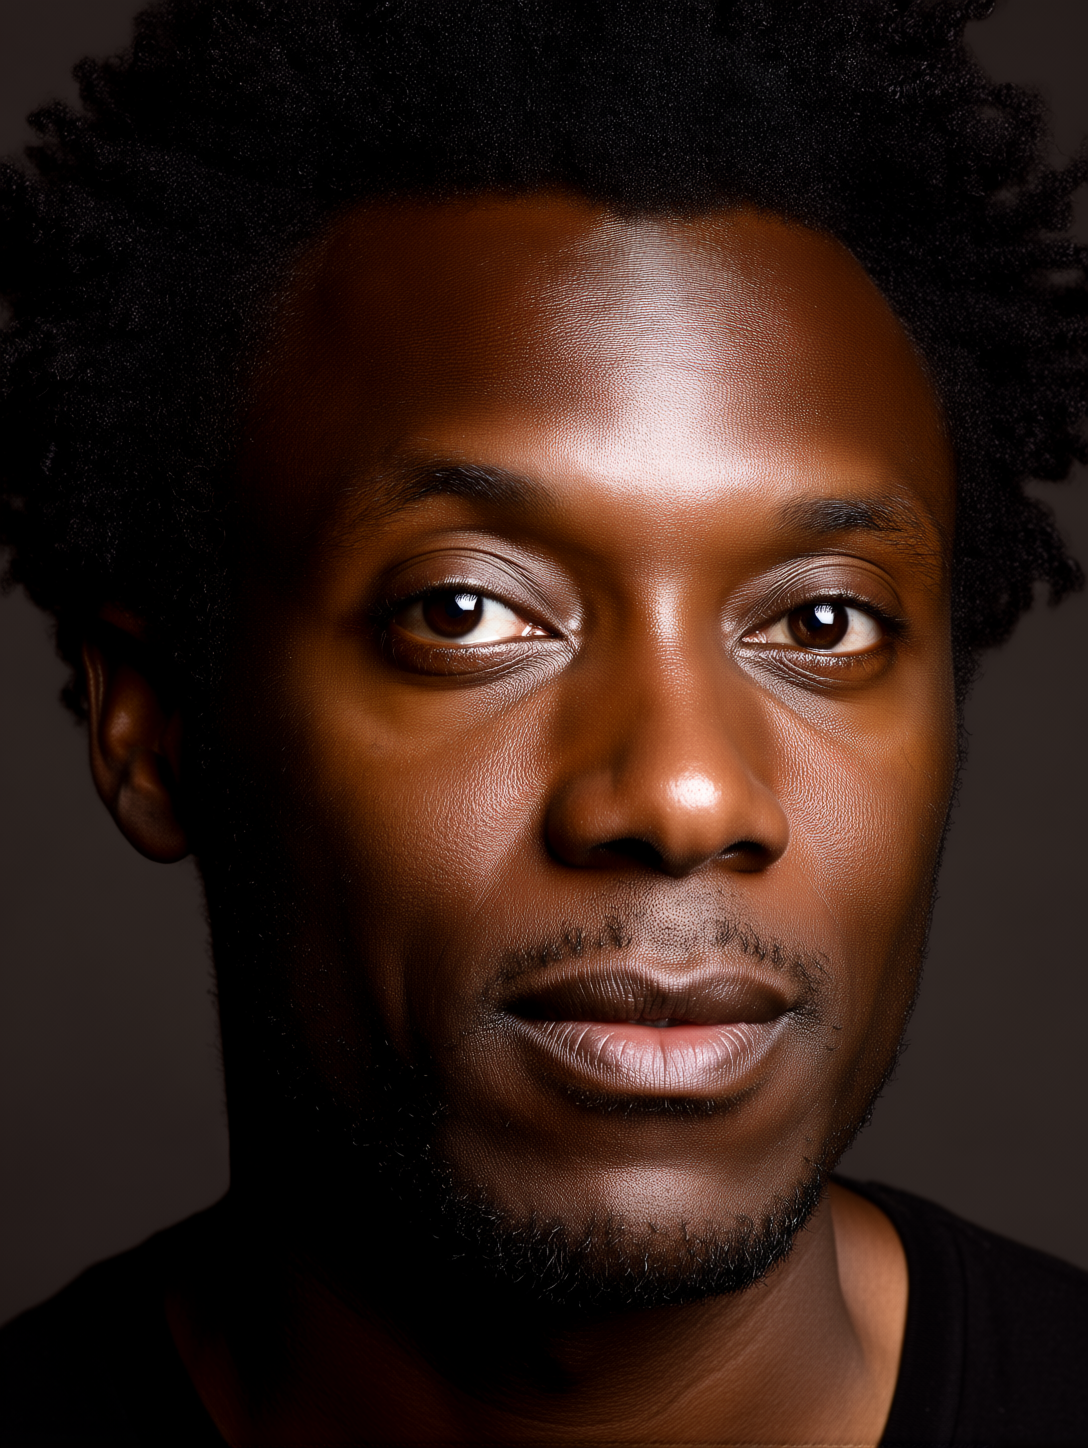
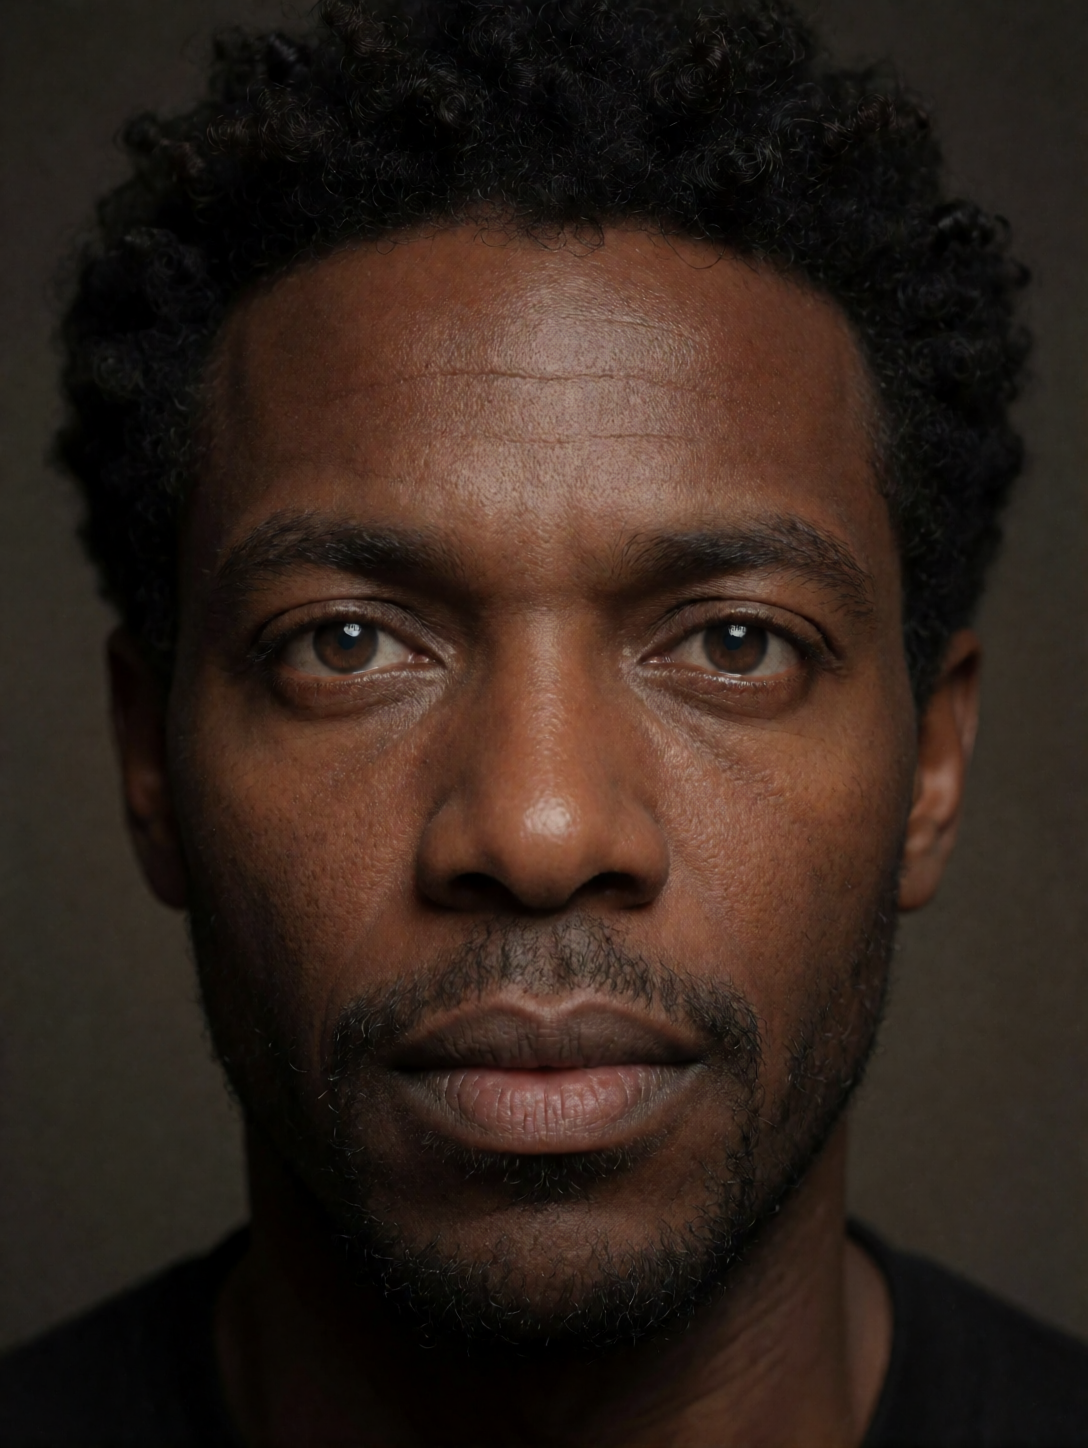
Hyper-realistic close-up portrait of a Black man with deep rich skin texture, natural sheen, tight curls, expressive warm eyes, subtle facial hair, precise shadows, Rembrandt lighting, extremely detailed pores, realistic highlights, neutral dark background, professional portrait look, ultra-sharp realism.
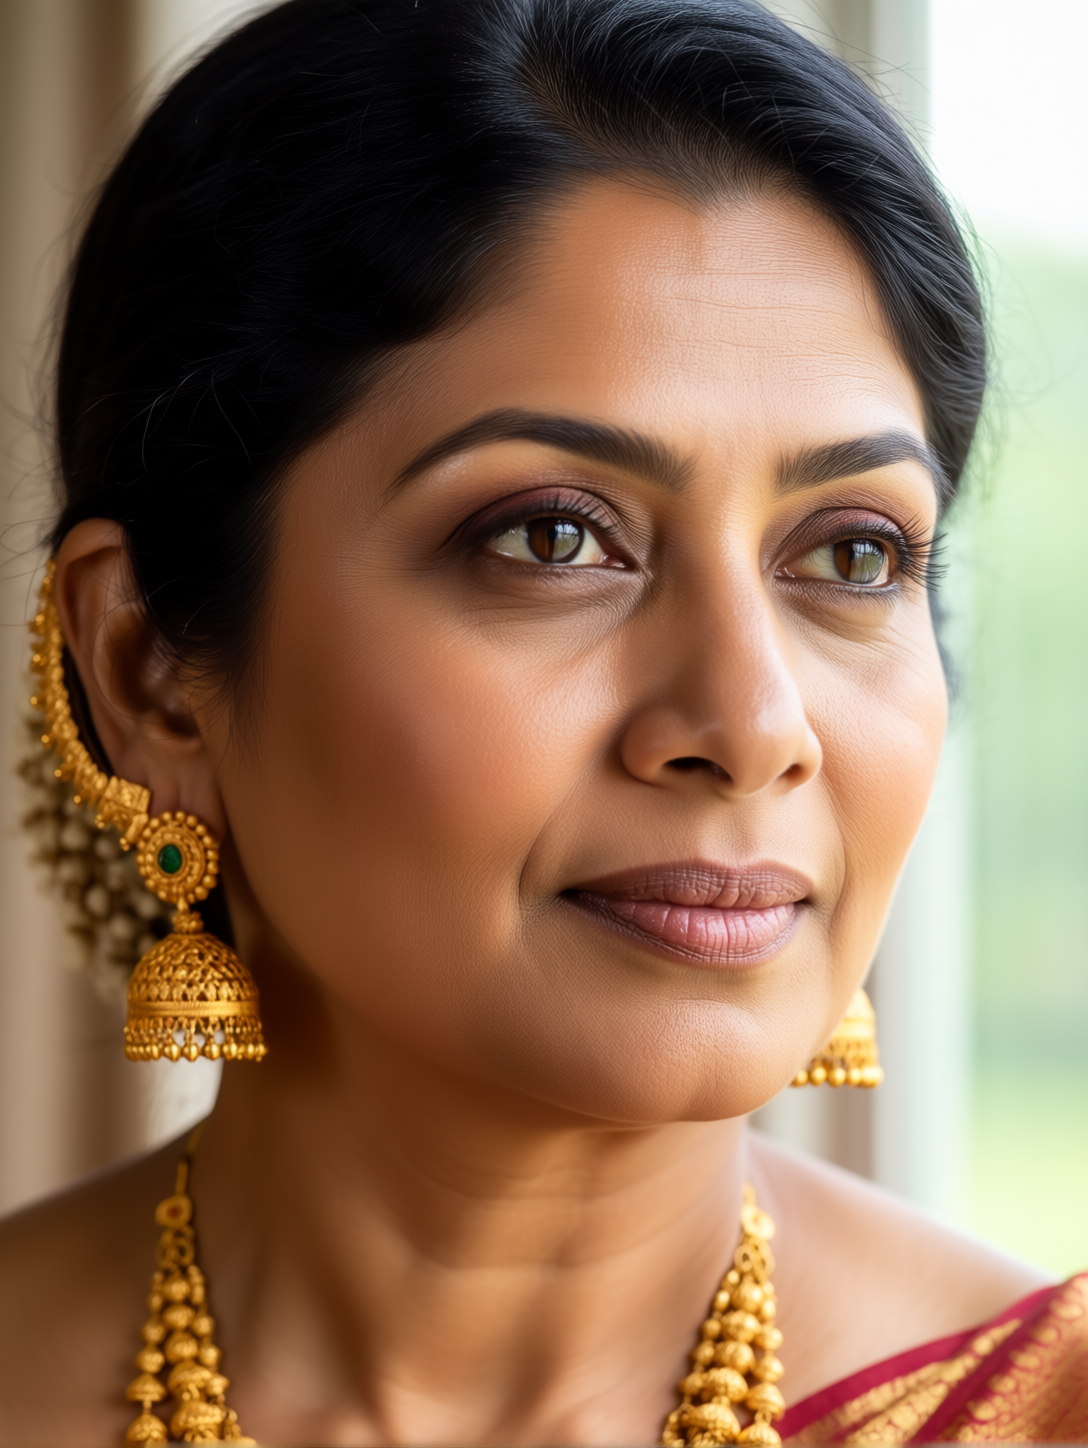
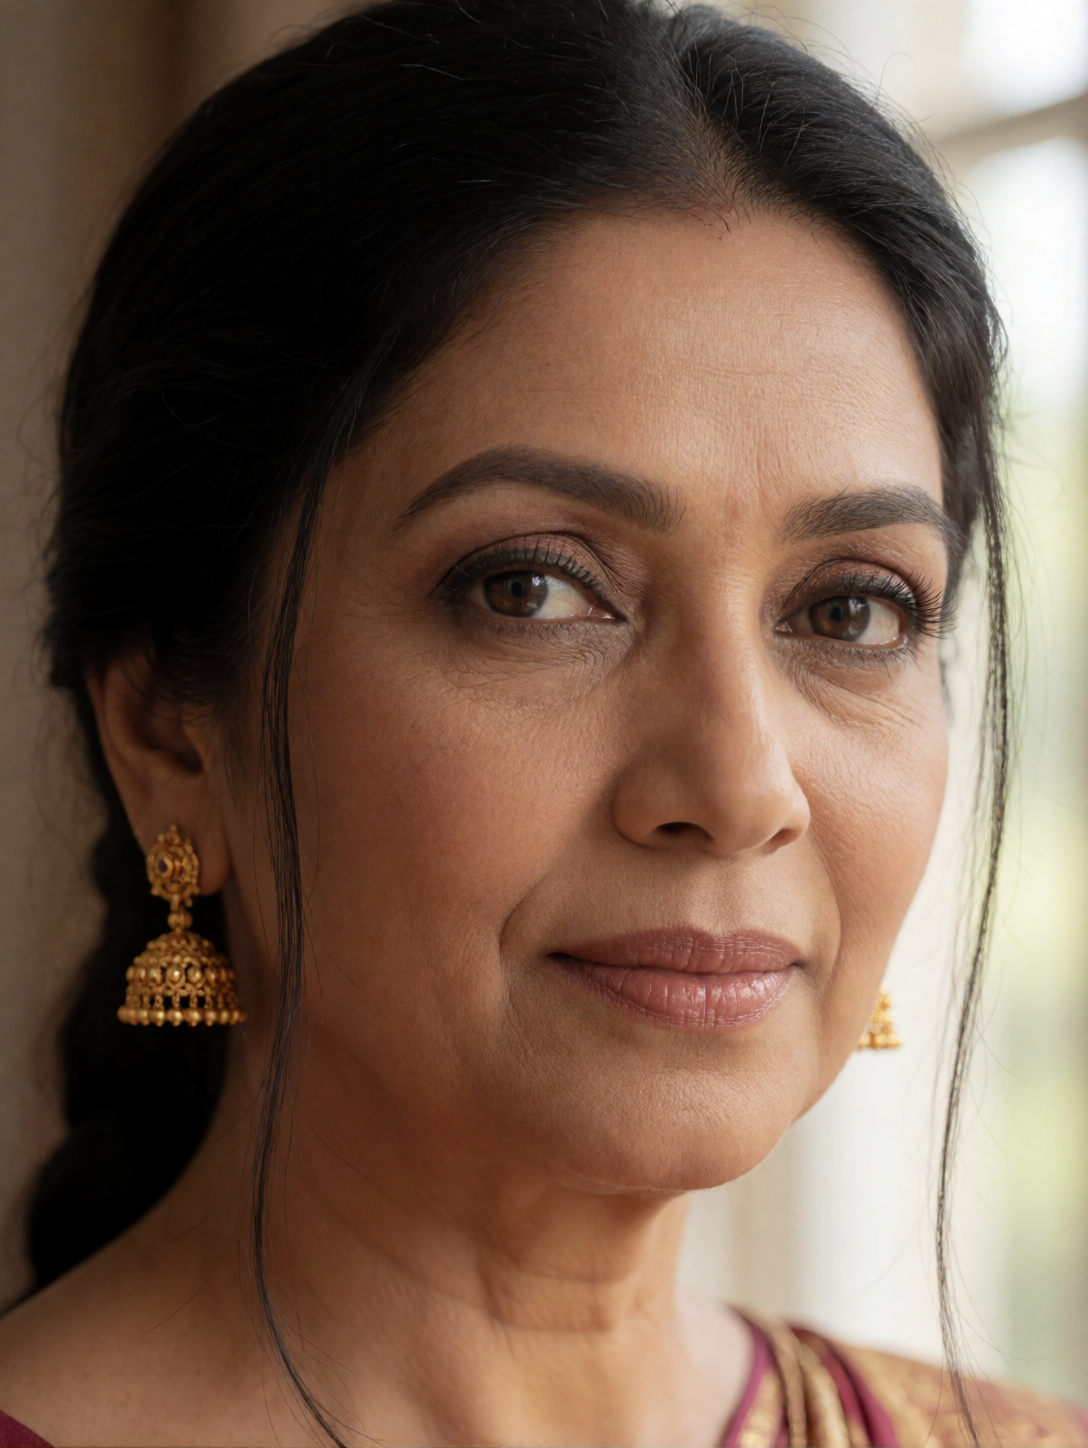
Ultra-detailed portrait of a South Asian woman wearing traditional gold earrings, soft warm skin tone, intricate hair strands, authentic facial texture, natural makeup, ambient window light, soft bokeh background, lifelike colors, elegant realism, 8K clarity, professional studio depth of field.
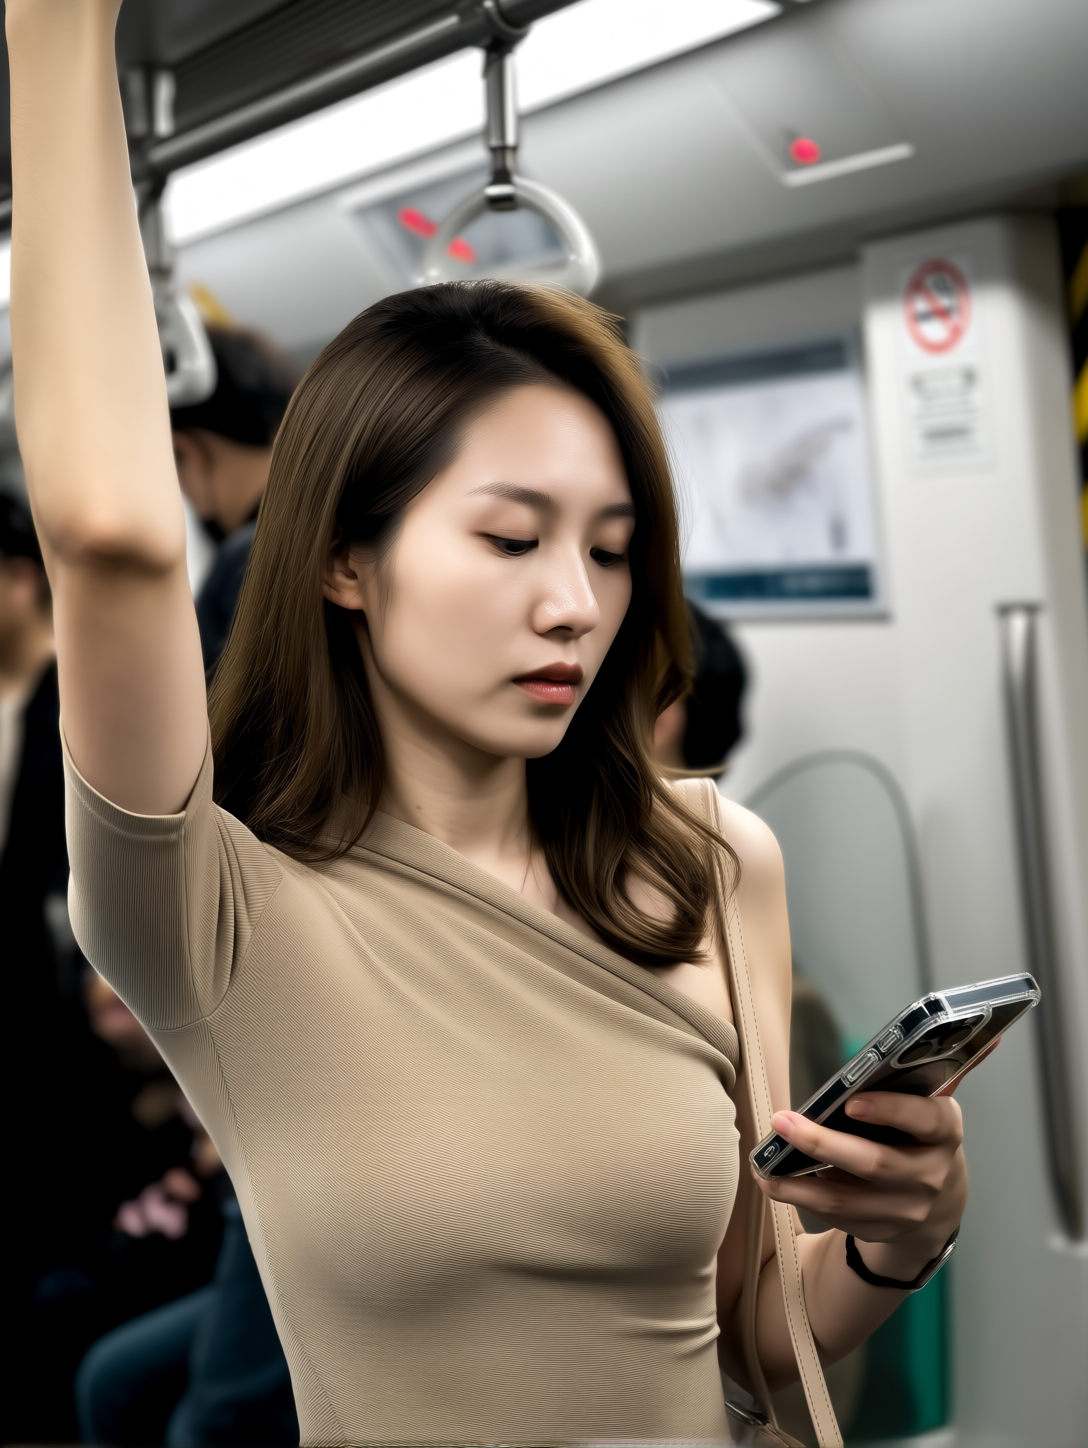
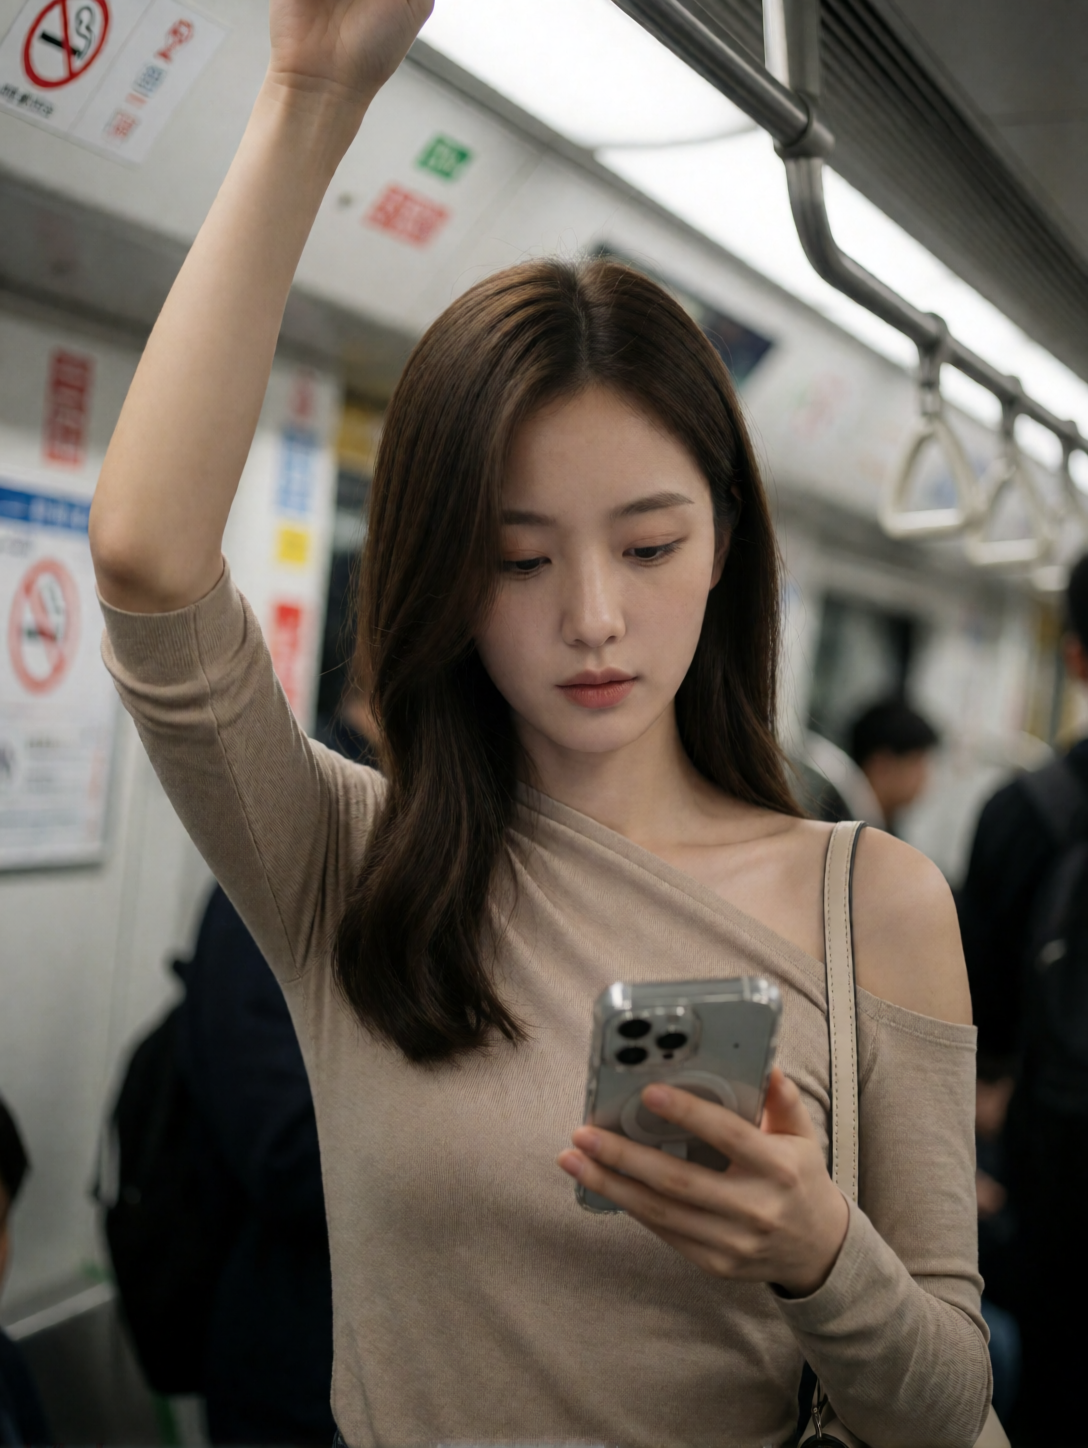
[SUBJECT & COMPOSITION]
Medium close-up, slightly low angle, ~50mm-equivalent perspective with mild compression. The focal point is the young woman’s face and upper torso, centered slightly to the left of the frame’s vertical axis. Her raised right arm creates a strong diagonal leading line that anchors the composition, while her downward gaze directs attention toward the smartphone in her left hand held at mid-chest level. The background is softly blurred with shallow depth of field, isolating the subject from the indistinct interior of a public transit vehicle. Negative space above her head and to her right provides breathing room without distracting from the intimate framing.
[CHARACTER / OBJECT DETAILS]
The young woman appears to be in her late twenties, with smooth, porcelain-like skin and a slender build. Her long, straight brown hair falls in soft waves around her shoulders, partially obscuring one side of her face. She wears a fitted, asymmetrical beige top made of a matte, stretchy knit fabric that drapes across her left shoulder and clings to her torso, revealing the contours of her décolletage. Her right arm is raised high, gripping an overhead handrail; the forearm shows subtle muscle definition under smooth skin. In her left hand, she holds a smartphone with a transparent case showing internal components, its screen angled downward as she looks at it. A thin beige strap from a shoulder bag rests over her left shoulder.
[ENVIRONMENT & BACKGROUND]
The setting is clearly inside a modern subway or train car, identifiable by the metallic handrails, blurred signage on the walls (including a circular “no smoking” symbol), and the faint outlines of other passengers in dark clothing. The background is heavily out of focus, suggesting motion and depth, with hints of fluorescent lighting fixtures overhead casting even illumination. The environment feels enclosed yet transient — a moment captured within the anonymous flow of urban transit.
[LIGHTING & ATMOSPHERE]
The scene is lit by diffused, neutral-toned artificial light from above, likely fluorescent panels common in public transport interiors. The key light source appears to be directly overhead and slightly front-facing, creating soft highlights on her forehead and cheekbones while casting gentle shadows under her jawline and along the contours of her neck. There are no strong directional shadows or dramatic contrasts — the lighting is even and clinical, contributing to a calm, observational mood that feels both candid and composed.
[TECHNICAL STYLE & RENDERING]
This appears to be a high-resolution digital photograph taken with a smartphone camera, likely using an aperture setting around f/1.8–f/2.0 for shallow depth of field. The image exhibits minimal grain or noise, with clean focus on the subject’s face and upper body while smoothly blurring the background. Color grading is subtle — skin tones are rendered in warm, natural hues without heavy saturation, and shadows retain detail without crushing blacks. The overall rendering style is polished yet unpretentious, resembling a candid portrait captured by an enthusiast photographer.
[KEYWORDS]
Asymmetrical Draped Silhouette, Matte Beige Knit Texture, Urban Transit Still Life, Soft Overhead Diffusion, Cinematic Candid Framing, Minimalist Public Space, Porcelain Skin Tone Rendering, Transparent Smartphone Case Detail, Subtle Shoulder Strap Accent, Neutral Fluorescent Ambient Light, Midday Commuter Vibe, 8k Resolution Masterpiece
Note: In my testing, Krea-2-Raw GGUF tended to produce smoother, more airbrushed skin than Krea-2-Turbo GGUF when using the same prompts. If you’re aiming for photorealistic portraits, consider adding descriptions such as natural skin texture, visible pores, and subtle skin imperfections. Results may vary depending on your prompts, LoRAs, and sampling settings.
Conclusion
Krea-2-Raw GGUF is an excellent option for users who want the highest image quality and are willing to trade a little generation speed for better detail and prompt adherence. Because the workflow is almost identical to the Turbo version, switching between the two models is straightforward—simply load the appropriate checkpoint and use the recommended settings.
Whether you’re creating photorealistic images, illustrations, or concept art, the Krea-2-Raw GGUF workflow provides a reliable foundation for high-quality image generation in ComfyUI. As newer GGUF releases and workflow optimizations become available, you can easily update your setup while keeping the same workflow structure.
Leave a Reply