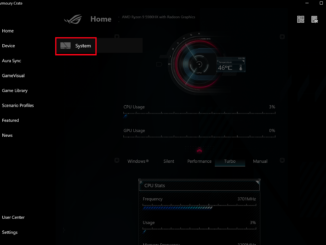
How to Disable Asus Rog Strix Laptop LED Lights in Sleep Mode
Do the LED lights on the Asus Rog Strix laptop drive you crazy in sleep mode? Learn how to turn them off in this article. […]
Do the LED lights on the Asus Rog Strix laptop drive you crazy in sleep mode? Learn how to turn them off in this article. […]
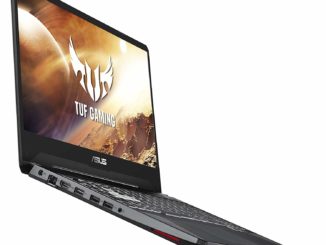
Asus TUF FX505DT Gaming Laptop is the best selling gaming laptop at Amazon this month. It features AMD Ryzen processors and GeForce GTX 16-Series graphics, […]
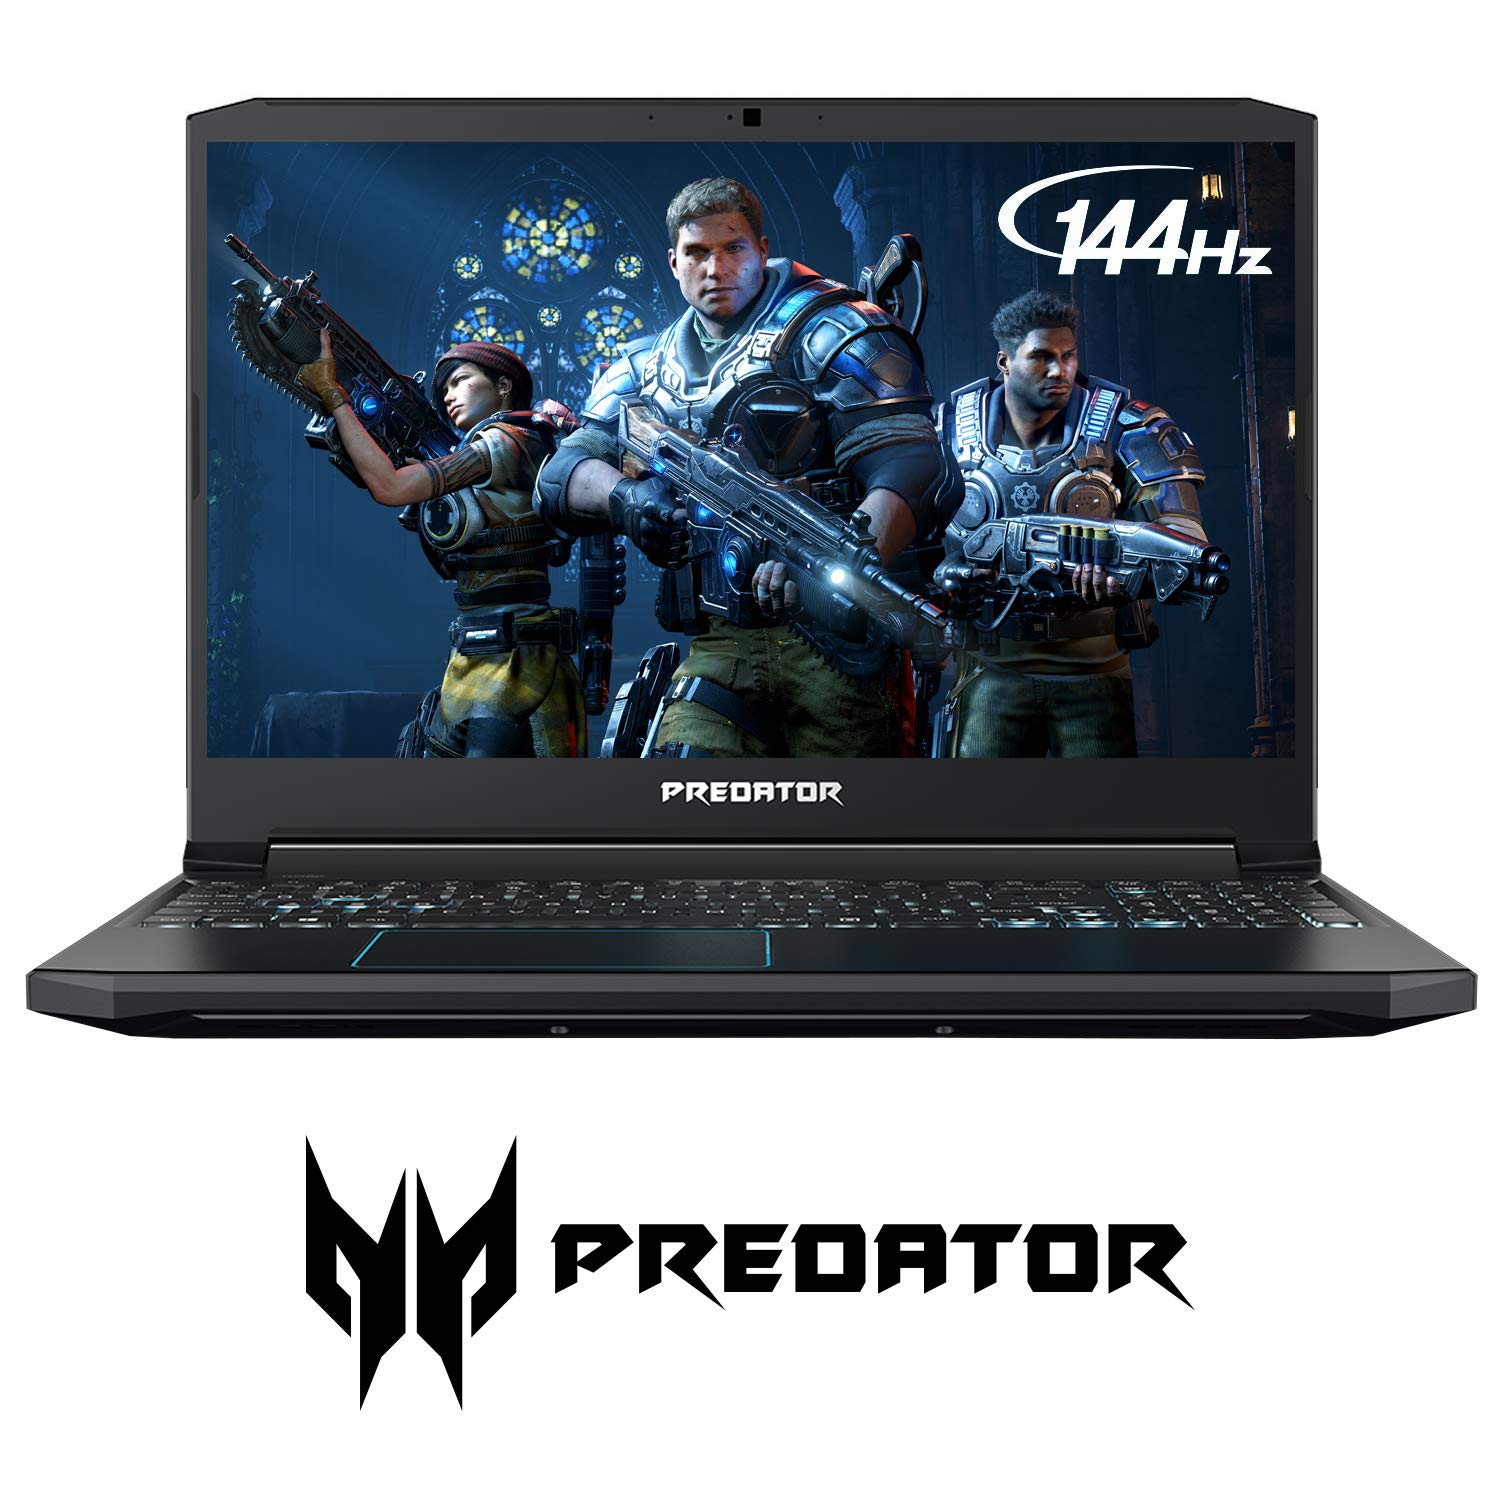
The Acer Predator Helios 300 Gaming Laptop is Amazon’s most popular gaming laptop this month. It comes with a 6-core processor, a 15.6″ Full HD […]
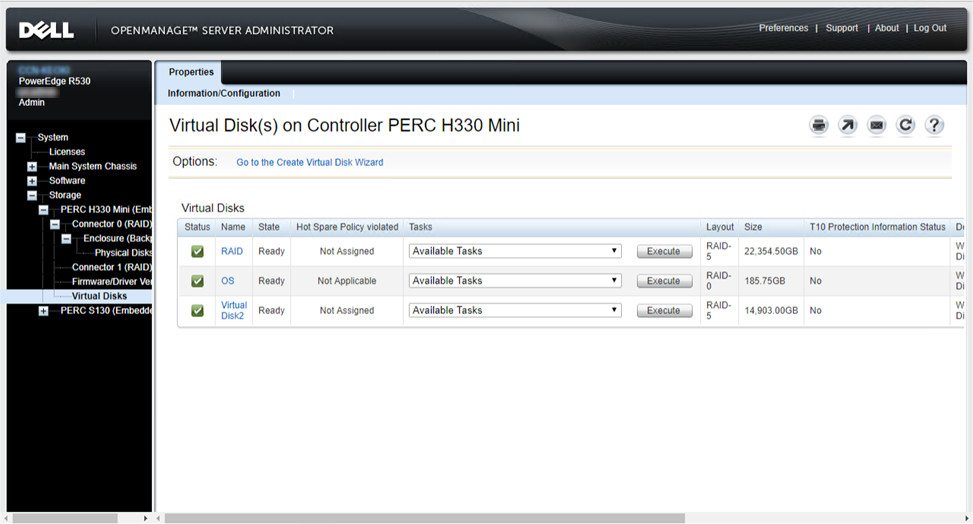
I helped a user to expand storage on a PowerEdge R530 server running Windows 2016. The server has 8 bays for 3.5 hard drives. 5 […]

Dell announced the most powerful gaming laptop, Alienware Area 51M at the 2019 CES. What’s unique about the laptop is the upgradeability. Not only you […]
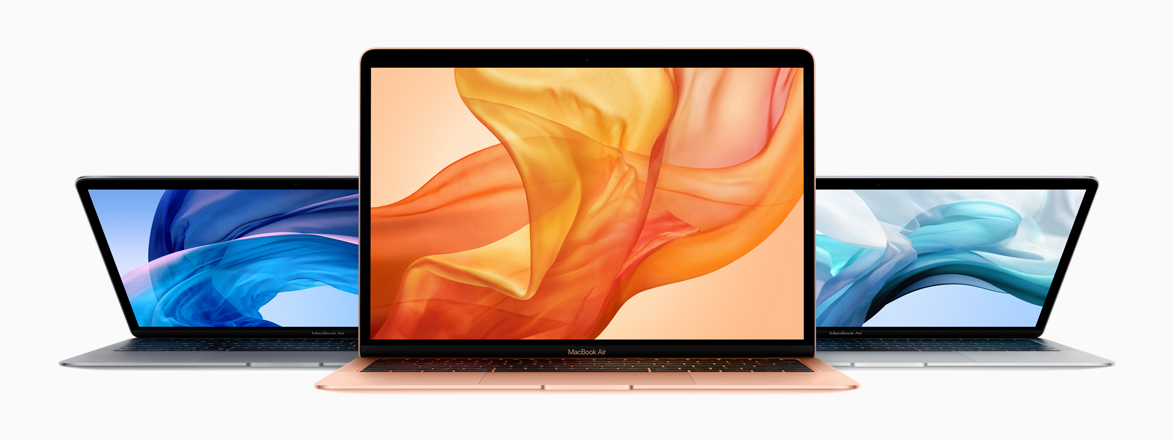
The Macbook Air and Mac Mini used to popular among our users. However, we have not purchased any Macbook Air or Mac Mini for a […]
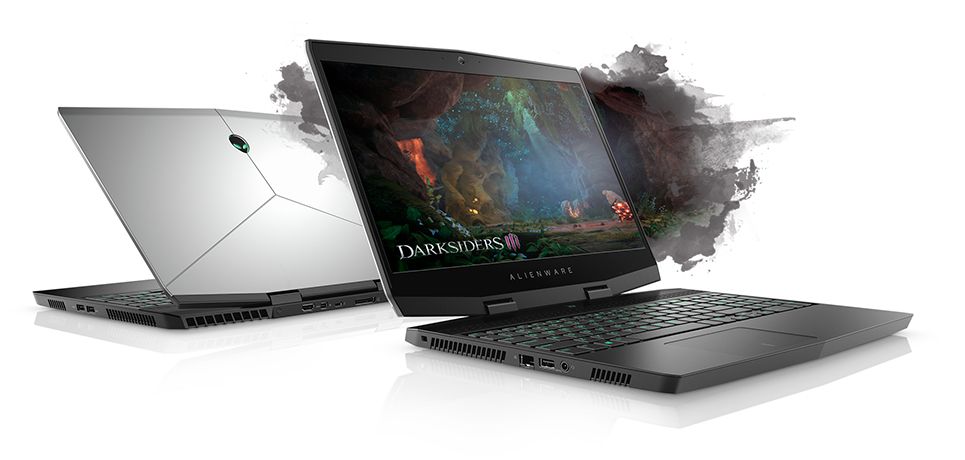
BUILT FOR NARROW ESCAPES. 15-inch gaming laptop with the thinnest Alienware design ever. Featuring exceptional battery life, premium materials and impressive power. STARTING ATÂ $1,379.99 Please […]
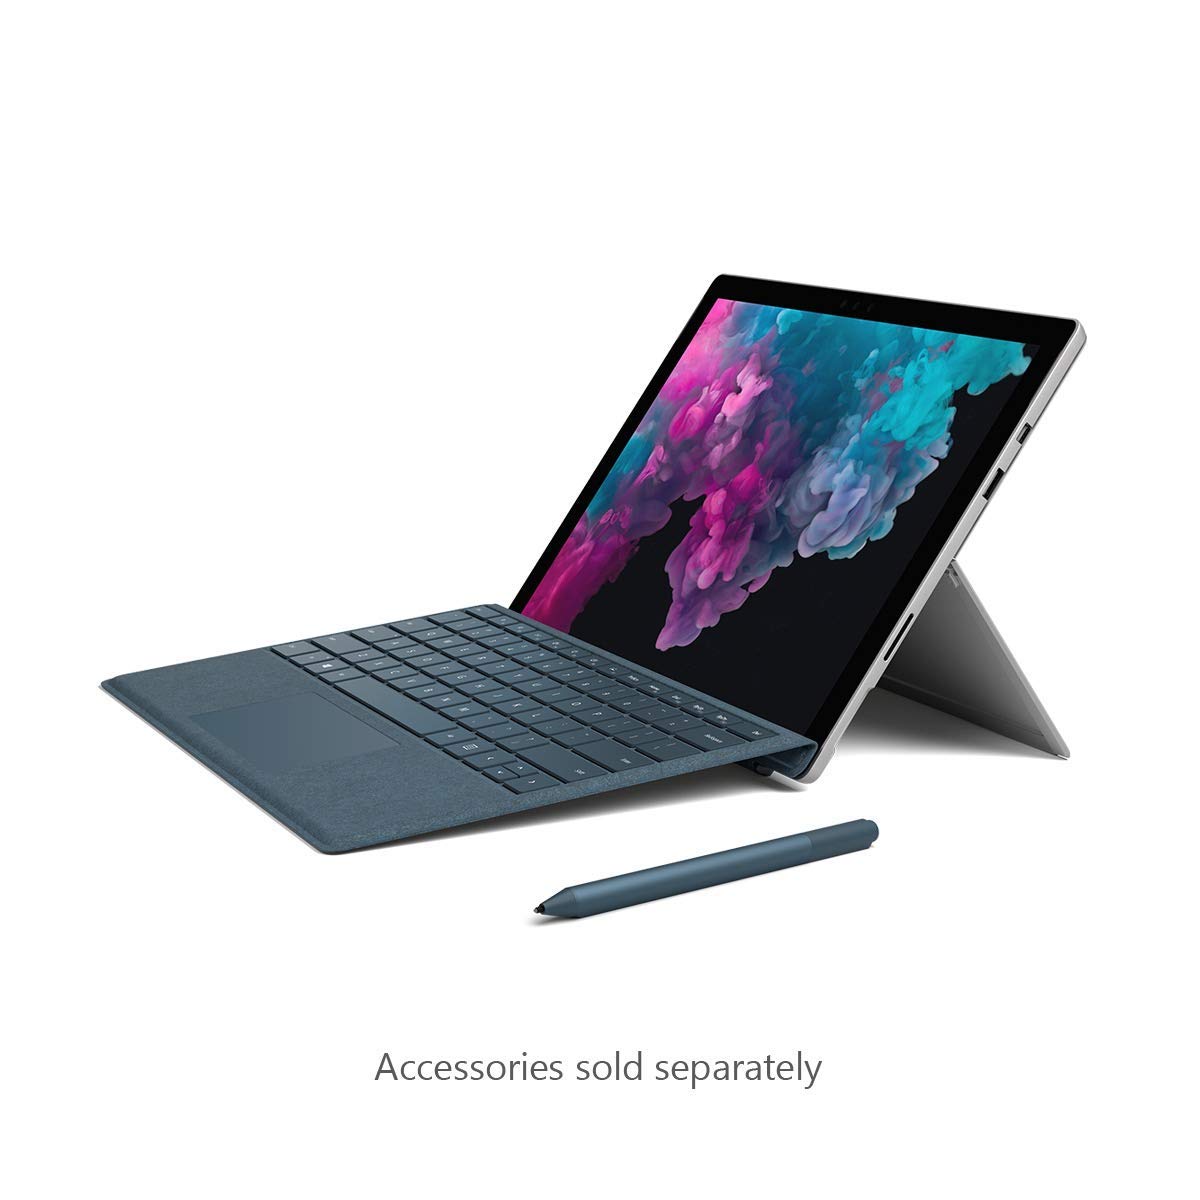
A best-in-class laptop with the versatility of a studio and tablet More power — now with the new 8th Generation Intel Core processor Ultra-slim and […]

The popular Asus ZenBook has a new model. It features: 13.3 Inch Anti-glare FHD 1920 x 1080 Display, Wide View 170 degrees with Windows 10 […]
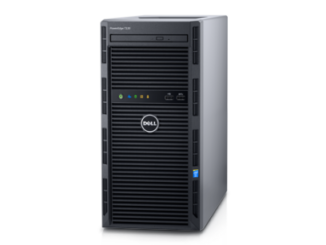
We purchased a bunch of Dell PowerEdge T130 servers recently. When I first installed it with Windows 2016, I couldn’t create a RAID. Upon checking […]
Copyright © 2026 | WordPress Theme by MH Themes
Social Widgets powered by AB-WebLog.com.