Krea 2 Turbo is capable of generating highly realistic images, but it can also be used for powerful image editing through inpainting. Instead of regenerating an entire image, inpainting allows you to modify only selected areas while preserving everything else. Whether you want to change clothing, replace a background, add accessories, or fix imperfections, inpainting provides a fast and precise way to make targeted edits.
If you’re thinking about purchasing a new GPU, we’d greatly appreciate it if you used our Amazon Associate links. The price you pay will be exactly the same, but Amazon provides us with a small commission for each purchase. It’s a simple way to support our site and helps us keep creating useful content for you. Recommended GPUs: RTX 5090, RTX 5080, and RTX 5070. #ad
In this tutorial, I’ll show you how to use the Krea 2 Turbo GGUF model for inpainting in ComfyUI. We’ll go through the complete workflow, explain the key nodes, and review the settings that produce the best results so you can seamlessly edit your images without sacrificing quality.
Krea 2 Turbo GGUF Inpainting Models
The models required for this workflow are identical to those used in the standard Krea 2 Turbo GGUF image generation workflow. If you have already set up that workflow, you can use the same checkpoints, text encoders, and supporting models without downloading anything additional. The only difference is the inclusion of the inpainting-specific nodes and the input image and mask, allowing Krea 2 Turbo GGUF to regenerate only the selected regions while preserving the rest of the image.
Krea 2 Turbo GGUF Inpainting Workflow
The inpainting workflow is here:
- Launch ComfyUI.
- Drag the workflow JSON onto the canvas.
- Verify that all required models load successfully. If not, use ComfyUI Manager to install the missing custom nodes. The new custom node for this workflow is LanPaint.
- If any nodes appear in red, confirm that the models are located in the correct directories.
Nodes
I am going to show only the nodes which are different from the regular text to image workflow.
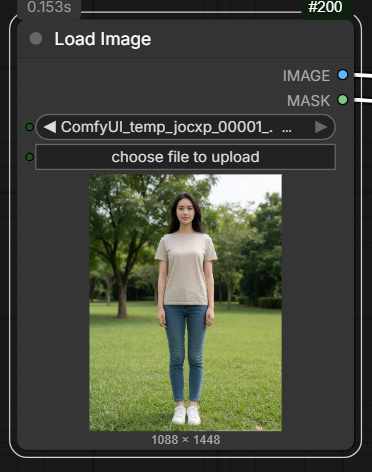
Use this node to load the image you want to inpaint.
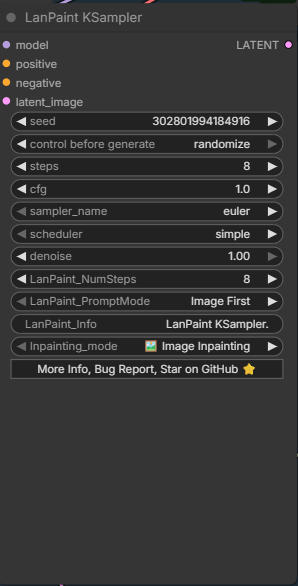
Pay special attention to this LanPaint KSampler node. In inpainting, the denoise strength controls how much the AI is allowed to change the masked area. A lower denoise value (0.2 ~ 0.3) preserves more of the original image details, making only subtle adjustments such as fixing small imperfections or blending edges. A higher denoise value (0.7 ~ 1)gives the model more freedom to regenerate the area, which can significantly change the pose, clothing, facial features, or overall appearance while maintaining the surrounding composition. Finding the right balance is important: too low may not produce enough changes, while too high can cause the inpainted area to lose consistency with the original image.
Example
If you haven’t used inpaint in ComfyUI before, you probably does not know how to start. The first step is to upload an image for inpainting. Then we need to create a mask for the image. A mask is a guide that tells the AI which parts of an image should be modified and which parts should remain unchanged during inpainting. It works like a selection layer: the masked area is where the model generates new content, while the unmasked area is preserved from the original image.
Right click on the Load Image node and select Open in MaskEditor.
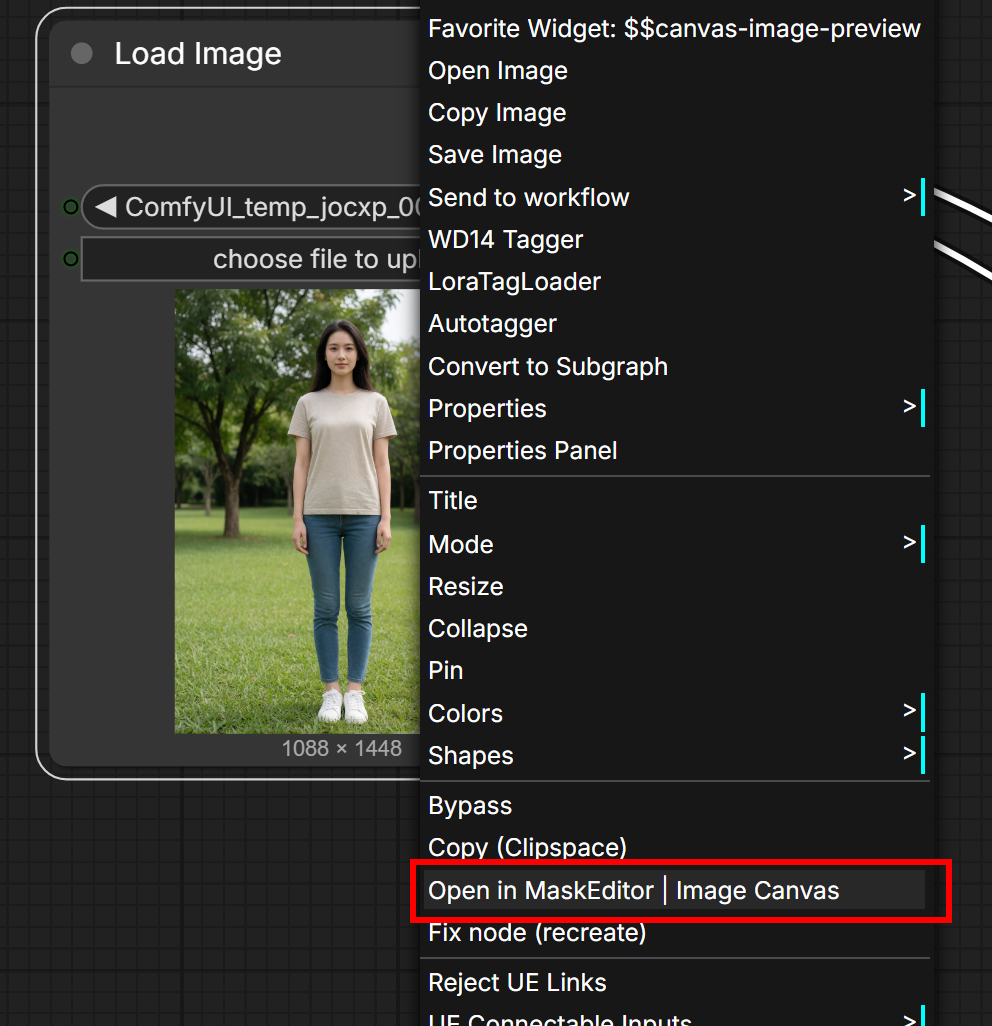
Mask Editor opens.
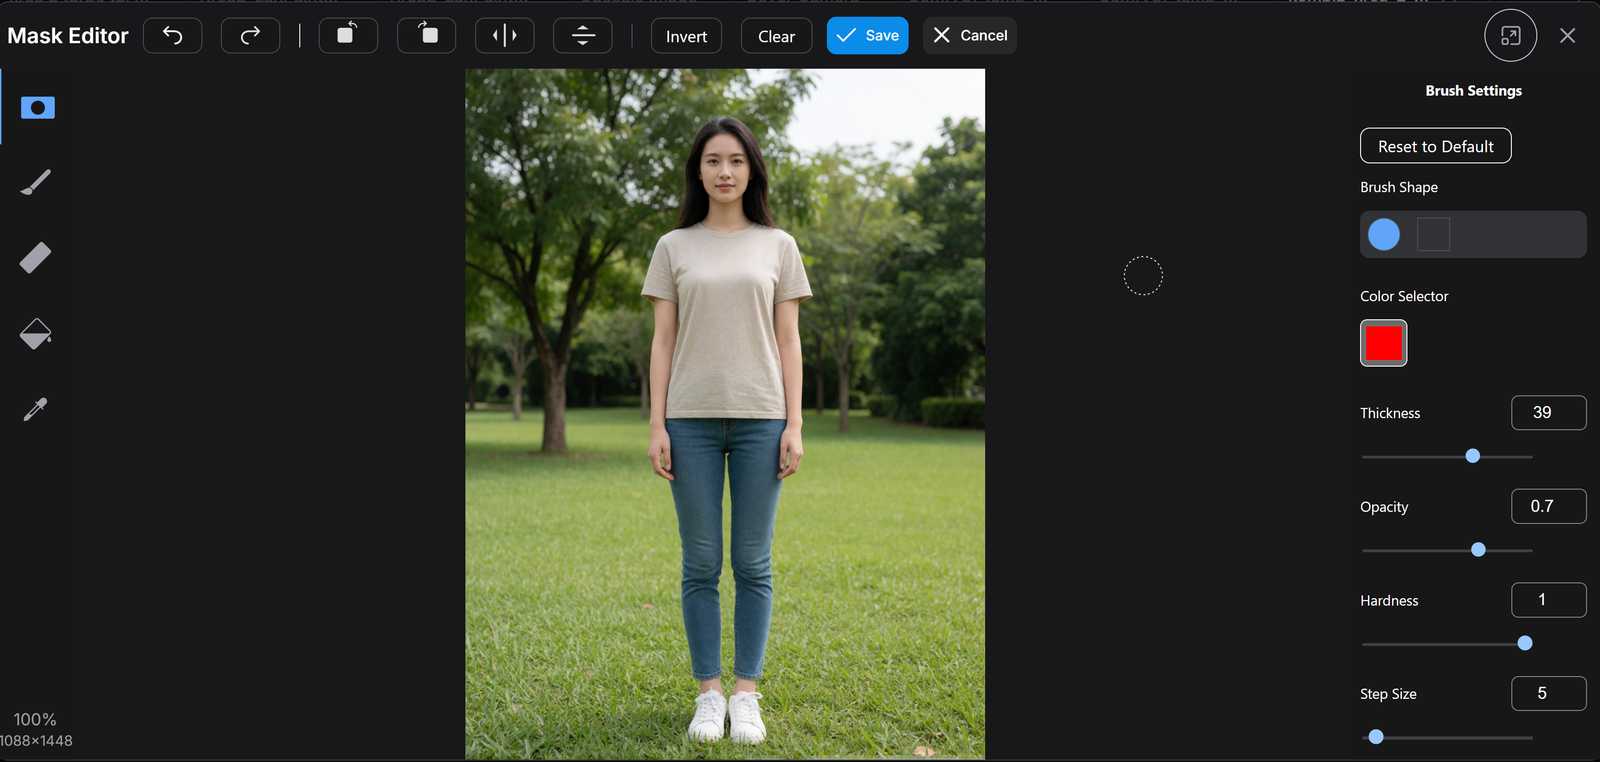
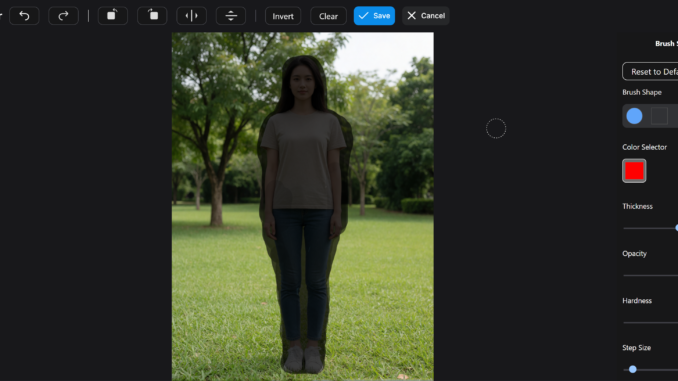
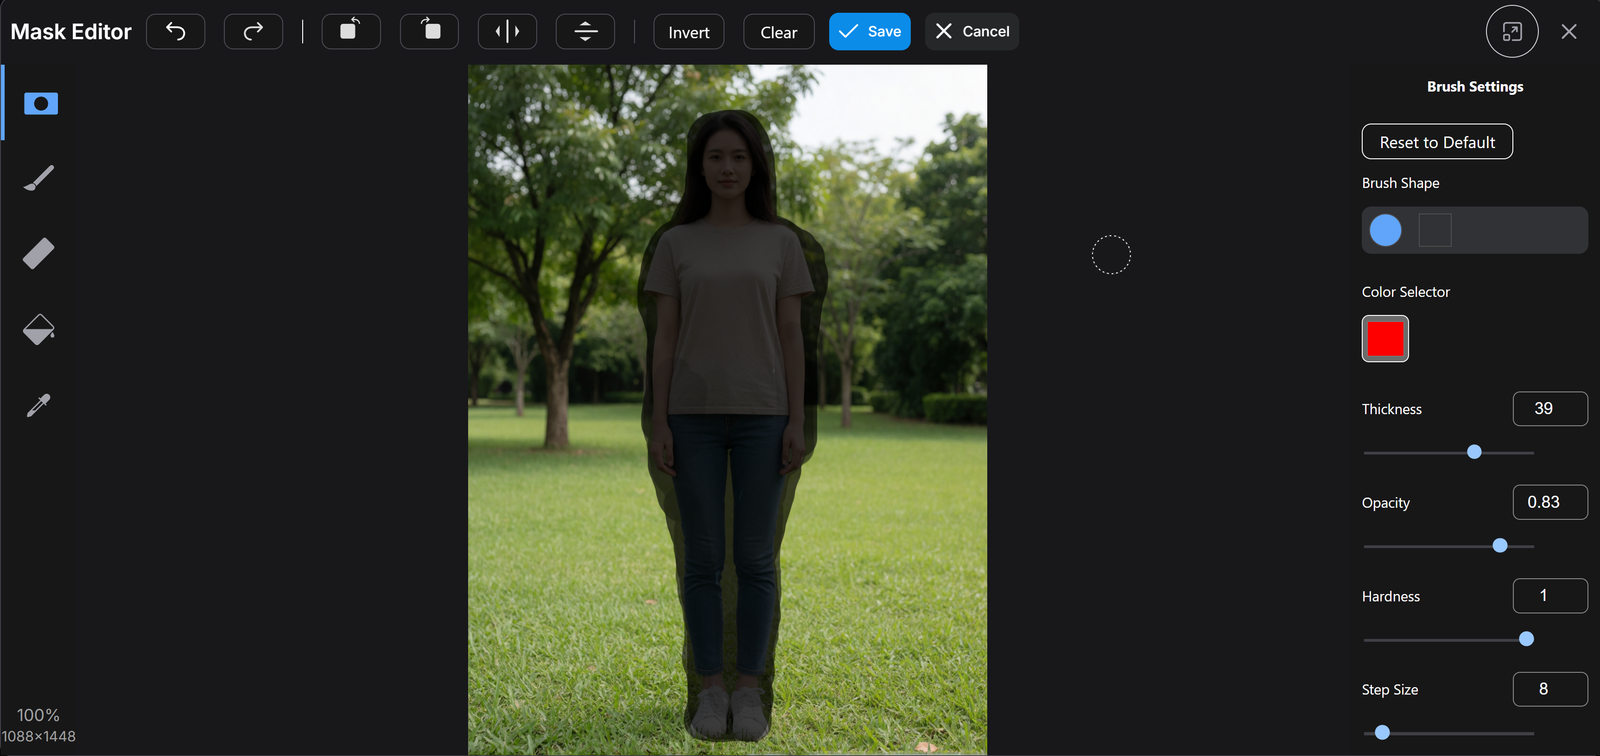
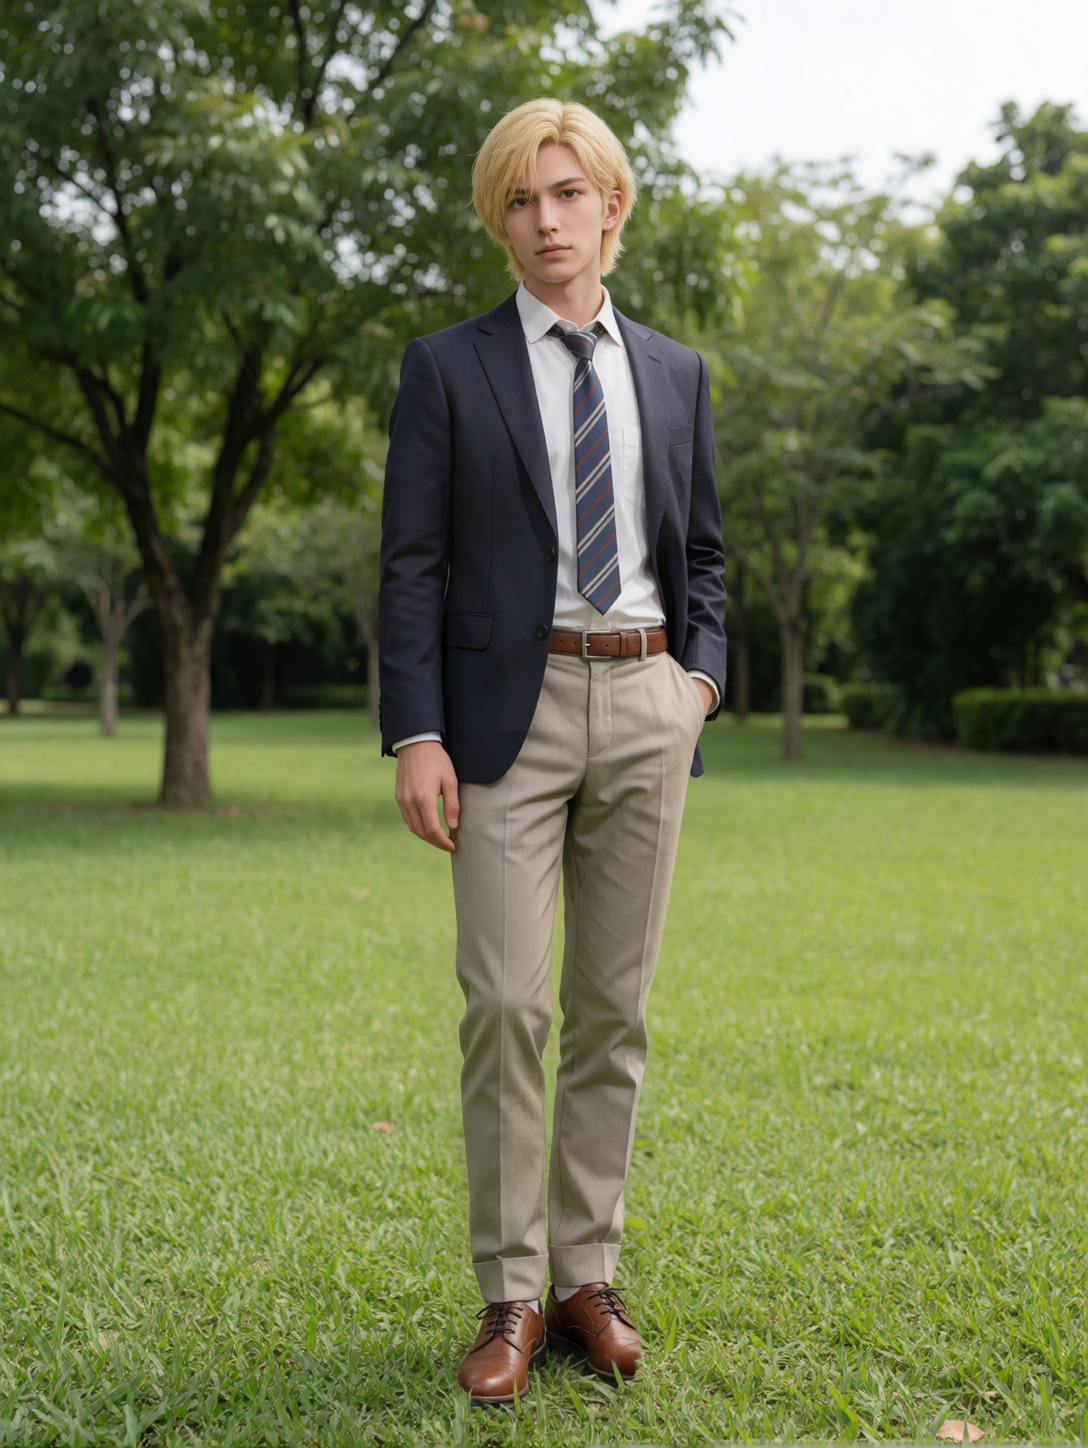
Adjust the Opacity to > 0.8 and paint over the subject you want to replace. I also changed the step size from 5 to 8. In this case, I want to replace the woman with a man, so I painted over the woman. When you are done, click on Save.
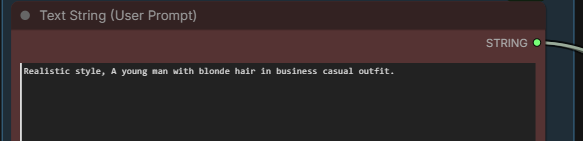
Enter the prompt and adjust denoise in the KSampler as needed. In this example, the man and woman is a lot different, so I set the denoise to 1.
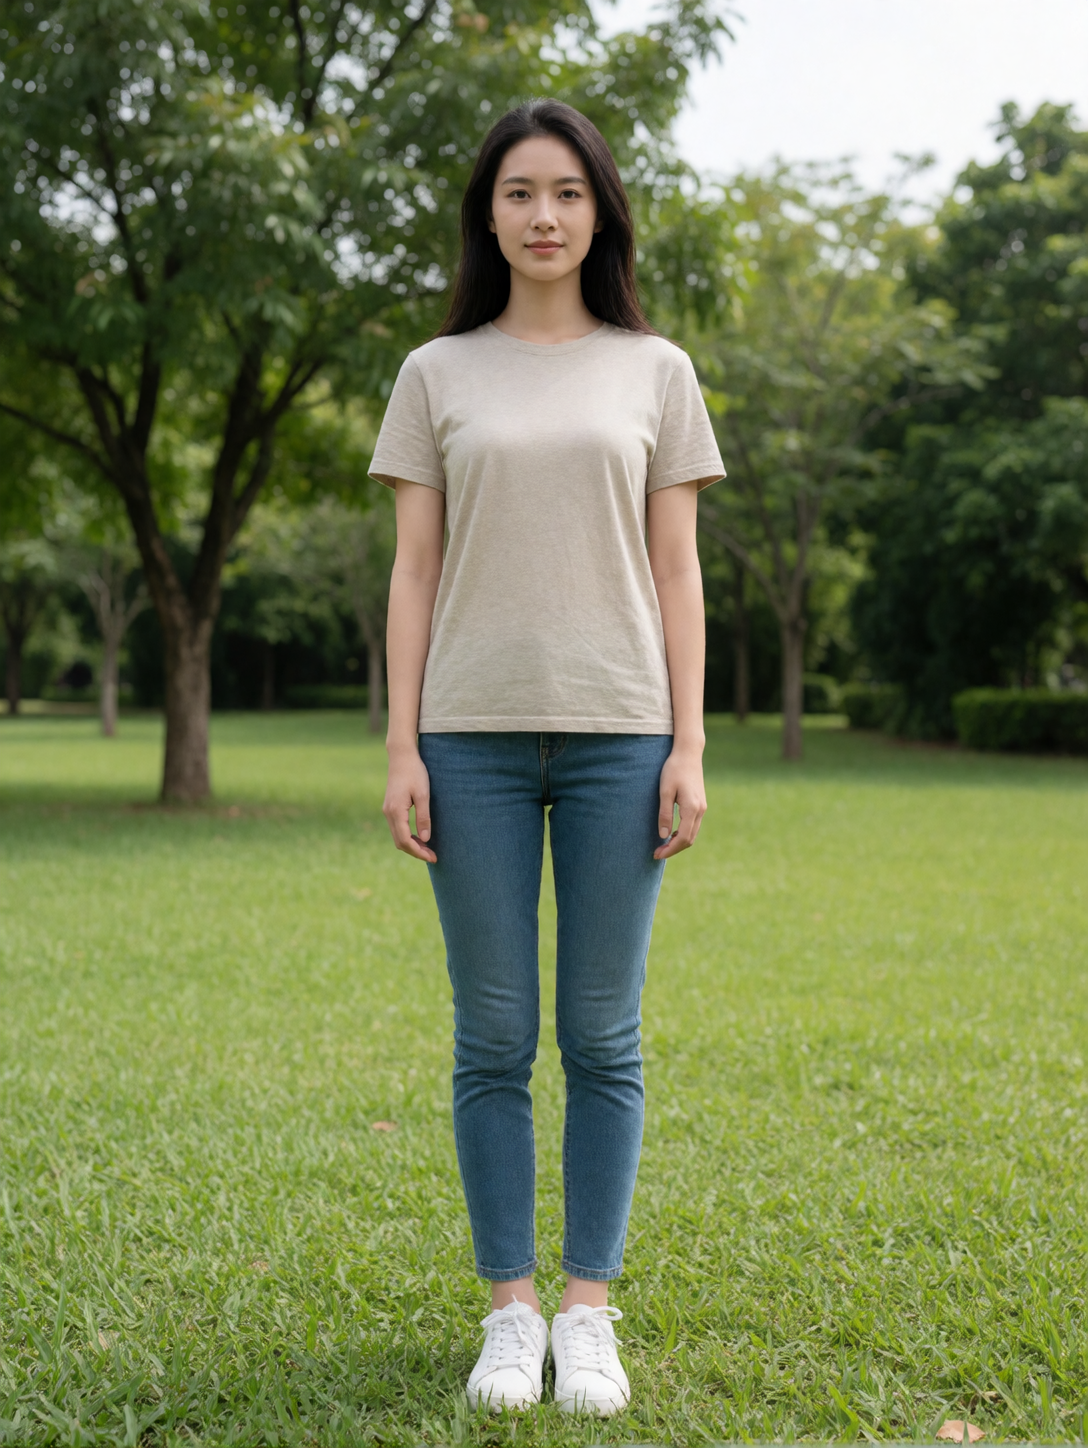
Conclusion
Inpainting is one of the most practical ways to take advantage of Krea 2 Turbo’s image generation capabilities. By editing only the masked regions, you can make precise changes while preserving the original composition, making it ideal for refining AI-generated images or enhancing existing photos.
Once you’re comfortable with the workflow, experiment with different denoise strengths, prompt variations, and mask sizes to achieve the desired results. Small adjustments can have a significant impact on the final image. With a little practice, Krea 2 Turbo GGUF becomes a powerful tool for everything from simple touch-ups to complete character and scene transformations.
Leave a Reply