For those who are unfamiliar with bokeh, it is the blur in the out-of-focus areas of an image. This effect is easily achieved by using a DSLR camera. On a compact camera, it is difficult to have bokeh because of the small lens and sensor.
You could however “simulate” bokeh effect using an image editor. In this tutorial, I am going to show you how to do it using the open source GIMP.
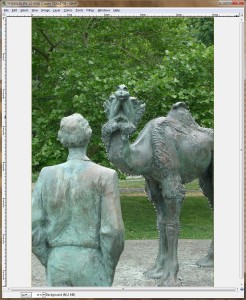
- Invoke GIMP and open the image you want to edit.
- Click on the Free Select Tool.
- Trace your subject with the Free Select Tool.

- Once your subject is selected, click on Select -> Invert to invert the selection. The background is now selected.
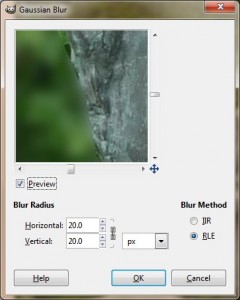
- Click on Filters -> Blur -> Gaussian Blur… to bring up the Gaussian Blur dialog.

- Enter the size of Blur Radius. You have to experiment a bit to figure out the size. In this example, it is a 10MP image, and I used 20.0 px for the Blur Radius. Click on OK to close the dialog.
- Save the image under a different name so that the original is unaltered.
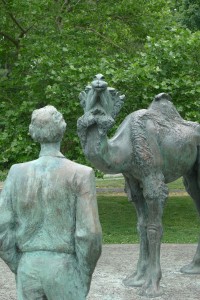
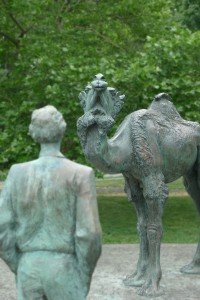
Here are the sample photos.
BEFORE
AFTER
The thumbnails are a bit small for you to notice the difference. Click on the thumbnails to see the full size images.
This post may contain affiliated links. When you click on the link and purchase a product, we receive a small commision to keep us running. Thanks.


Leave a Reply